
In Final Fantasy VII Rebirth, you will need to be able to defeat the Fort Condor mini-game if you want to complete the Protorelic quest line and meet Gilgamesh. This guide will explain how to play Fort Condor in Final Fantasy VII Rebirth.
FF7 Rebirth Fort Condor Explained
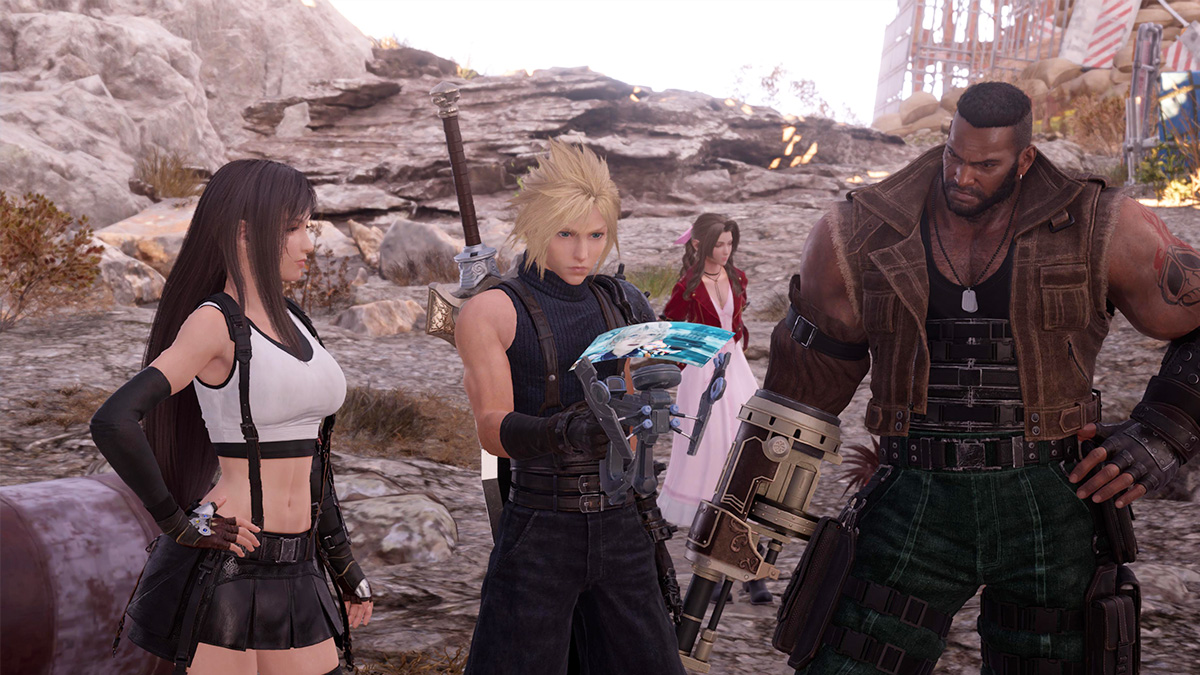
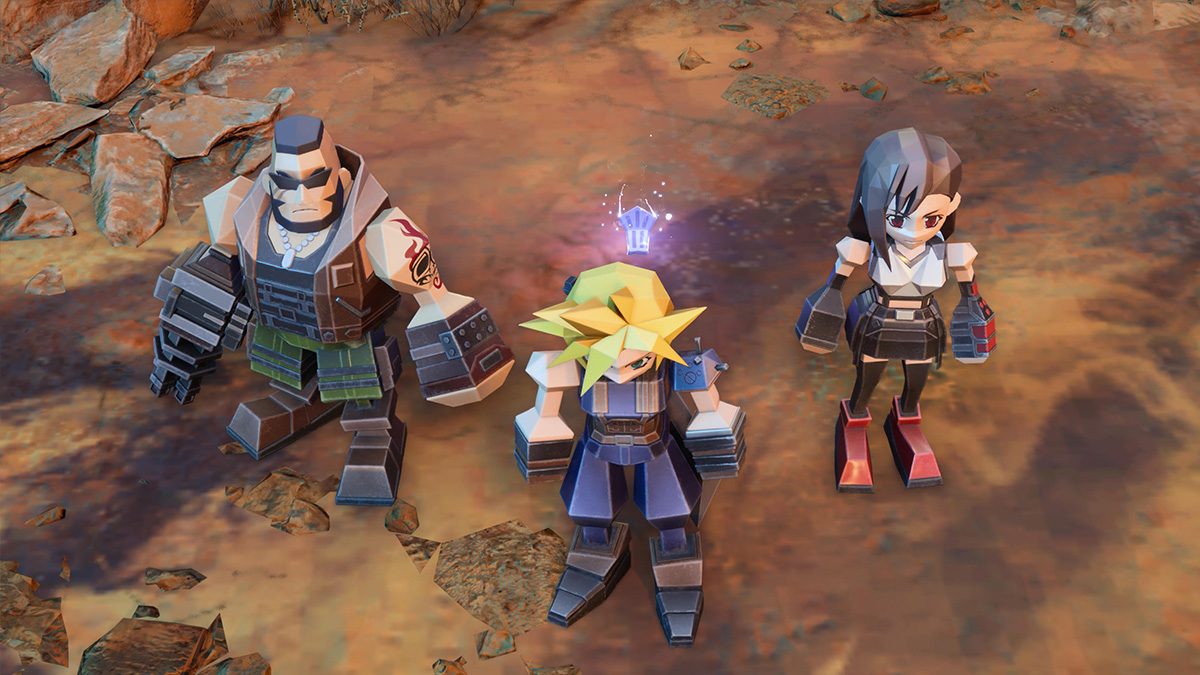
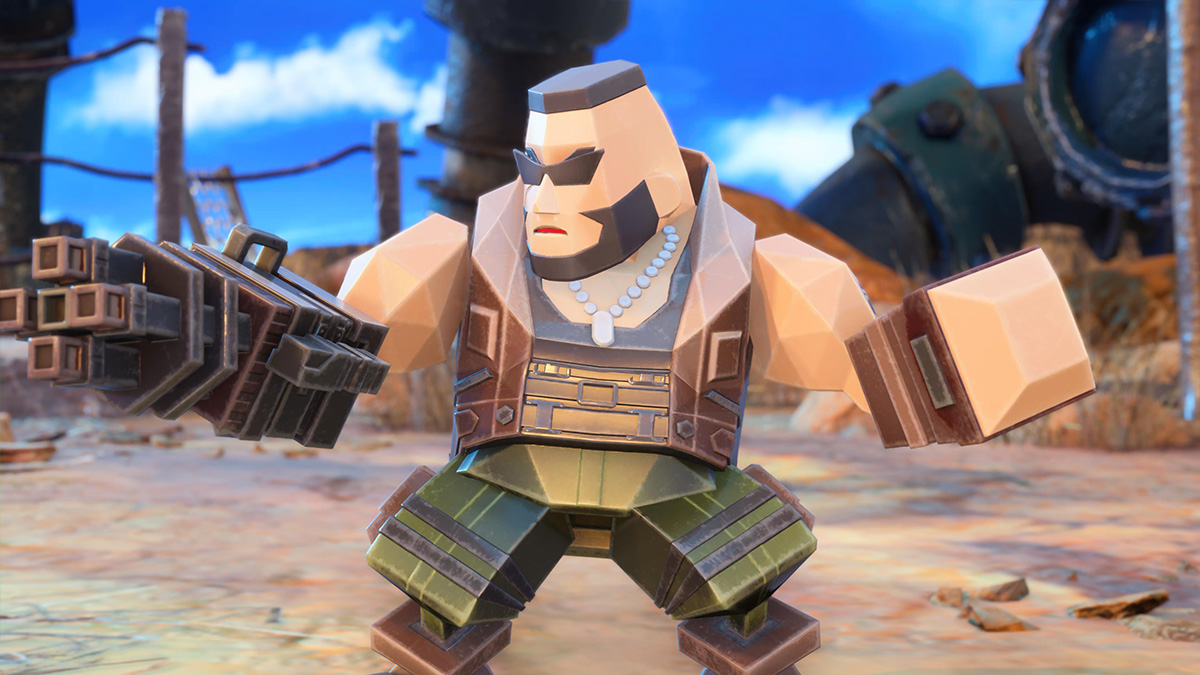
You will first encounter the Fort Condor mini-game in Final Fantasy VII Rebirth after reaching the Junon Region during Chapter 4: Dawn of a New Era. The questline is kicked off after you discover the Phenomenon Intel 1: The World of Fort Condor for Chadley. The unique quest has Cloud and his friends being shrunk down into bite-sized board pieces and going to war against Gilgamesh.
The game’s goal is to send your units down two lanes until you eventually take down the other side’s towers. However, if you are frustrated and don’t understand the game at first, you are not alone! It took me a couple of hours of trial and error before I fully understood how to complete this side quest. We got you covered, though, as we are going to explain everything you need to know to understand Fort Condor below.
FF7 Rebirth Fort Condor weaknesses chart
The first thing you need to understand is the Fort Condor Weakness chart. The game has three main unit types, and each one has an element that is strong or weak against the other. Before starting a match, you will want to change your units so that you can counter the opposing team. Here are the weaknesses you need to know:
- Vanguard (Sword)
- Ranged (Bow)
- Defense (Shield)
Weaknesses
- Shield beats Sword.
- Bow beats Shield.
- Sword beats Bow.
Using my game as an example, the Shinra Warlord has 5 Vanguard (Sword), 4 Defensive (Shield), and 5 Ranged (Bow) units. So, when selecting my Ally Units before the match, I used the “L2” button to select “Option 1” or “Balanced: Offense and Defense Focused.” I chose this build because it gives me plenty of Ranged units to take out his Defense and a high amount of Defense to take out his Vanguard.
You can see which numbers you should focus on in the image below:
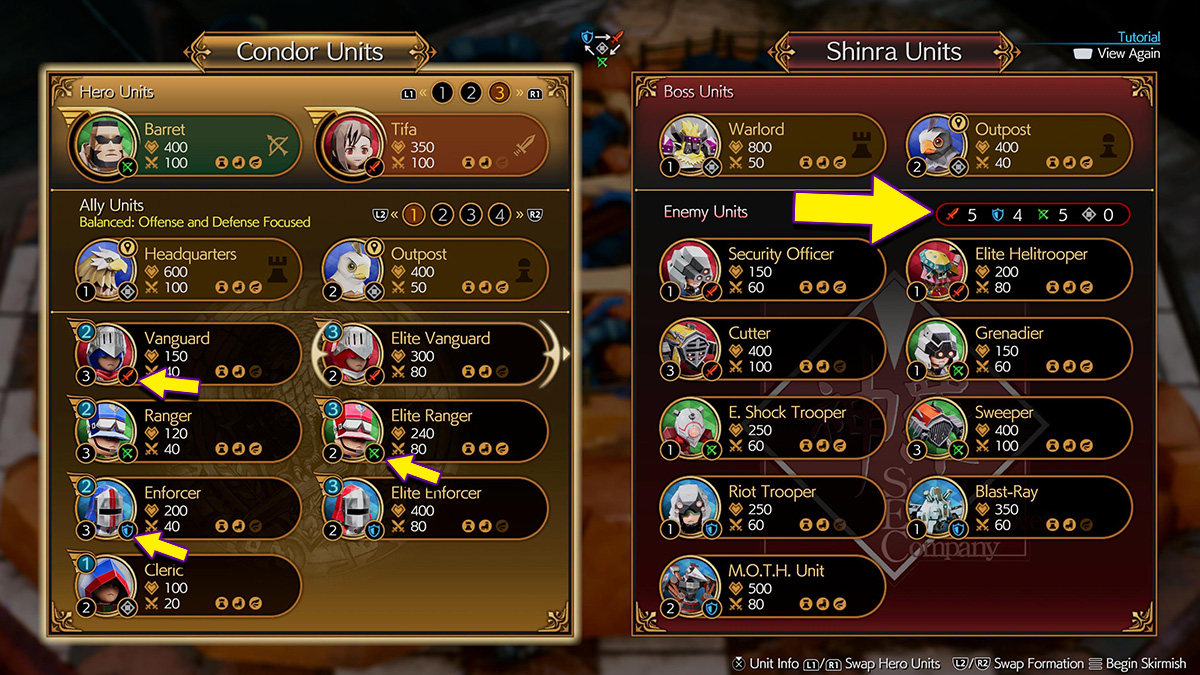
So whenever you are about to start a Fort Condor Skirmish, check the Shinra Units side of the menu and take a total of which pieces they are bringing into battle. A good rule of thumb is to try to have more units than two of the elements on their team. For example, have more Bow and Sword characters, etc.
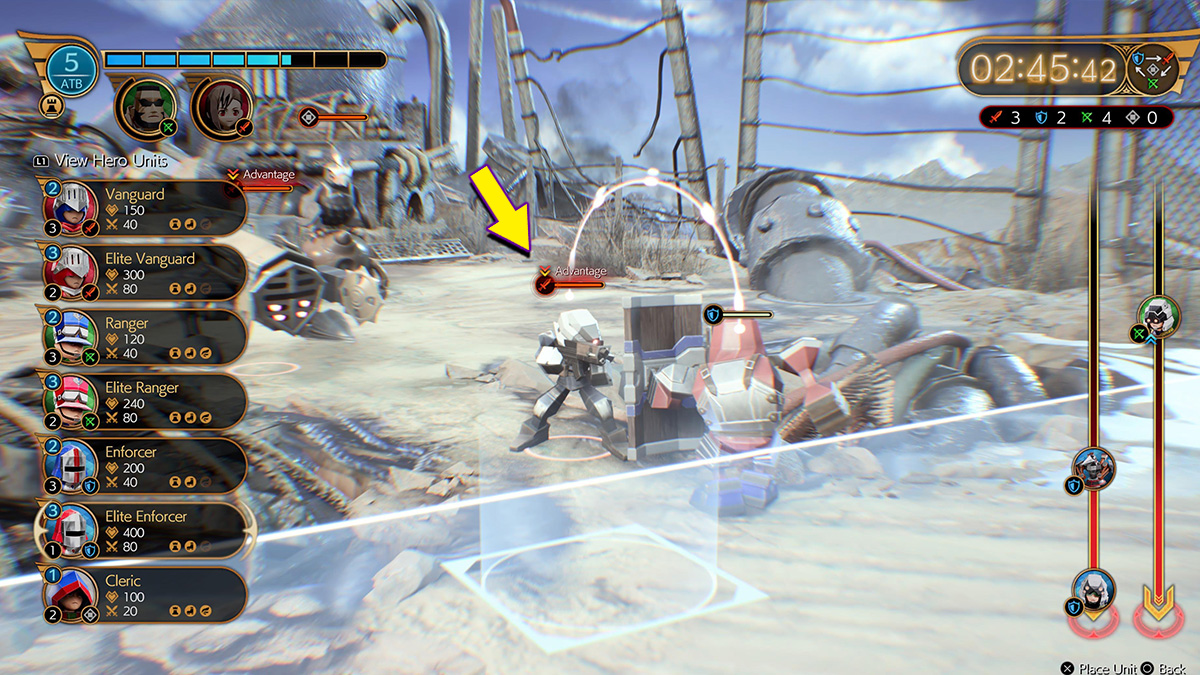
Fort Condor Hero units
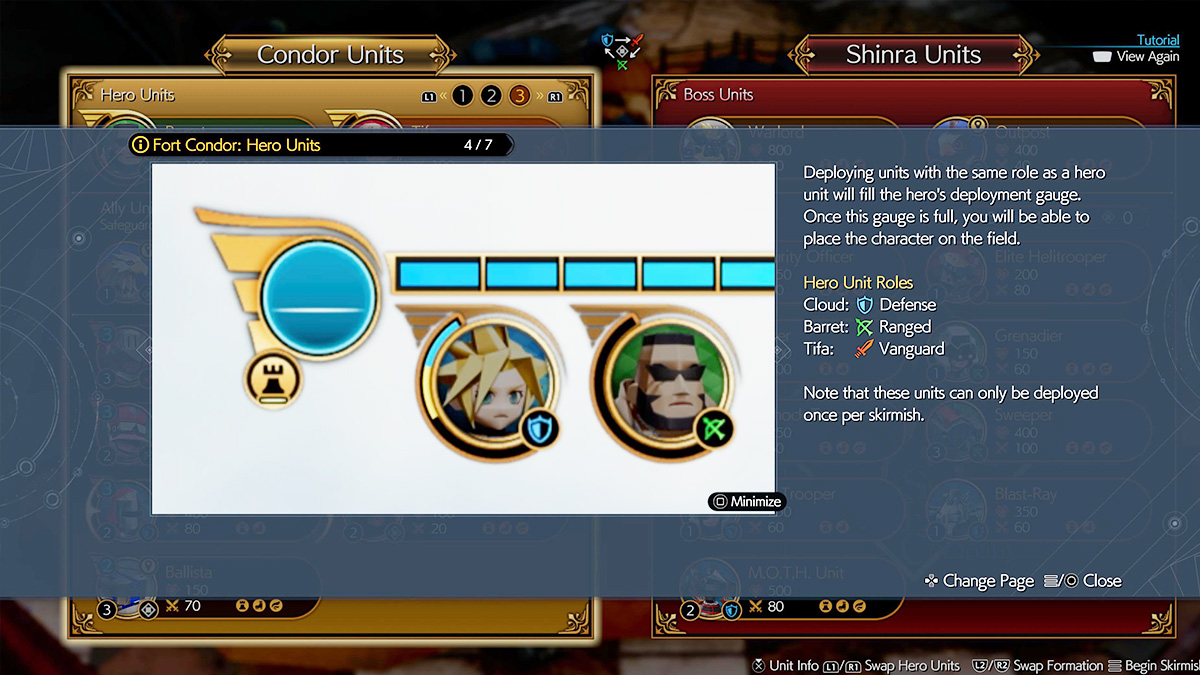
The last thing you need to know before starting a Fort Condor match is Hero Units. At the very top of your Condor Units screen is the Hero section. Hover your cursor over it and press “L1” or “R1” to swap between the units. There are only three to choose from, and to no surprise, they each represent one of the elements, including Ranged (Bow), Vanguard (Sword), and Defense (Shield).
- Cloud – Defense (Shield)
- Tifa – Vanguard (Sword)
- Barret – Range (Bow)
With what we know from the earlier section, you will want to pick your Hero Units based on the enemy team’s units. So, for example, if the Shinra side has a lot of Range units, you will want to select Tifa, who counters Bow with her Vanguard (Sword) attacks. Basically, keep in mind the Fort Condor Weakness chart, and select your Hero Units alongside your Ally Units.
Fort Condor Outpost & Headquarters
The next major thing you must know about Fort Condor is the Outpost and Headquarters on your team. These are essentially the giant towers at the start of your side of the board. Your goal is to ensure the enemy units don’t destroy these, or it’s game over. Conversely, your goal is to push your lane far enough into the other side that you can destroy their outposts and Warlord.
Fort Condor Clock
One of the major challenges of Fort Condor is the countdown clock in the upper right-hand corner of the screen. If this clock reaches zero, you will lose the match. You must defeat the Warlord within the set time limit, or you will lose. Because of this, you have to be aggressive and can’t focus too much on defense. You need to push the other team’s lanes back into their side.

Fort Condor Lanes
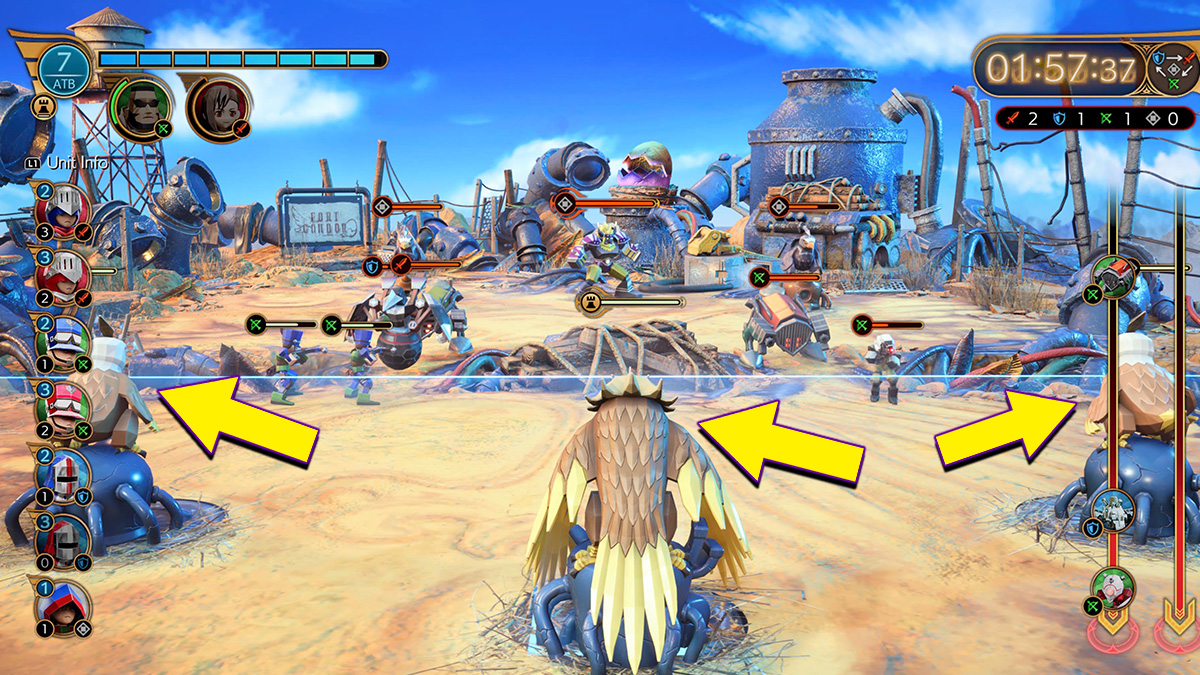
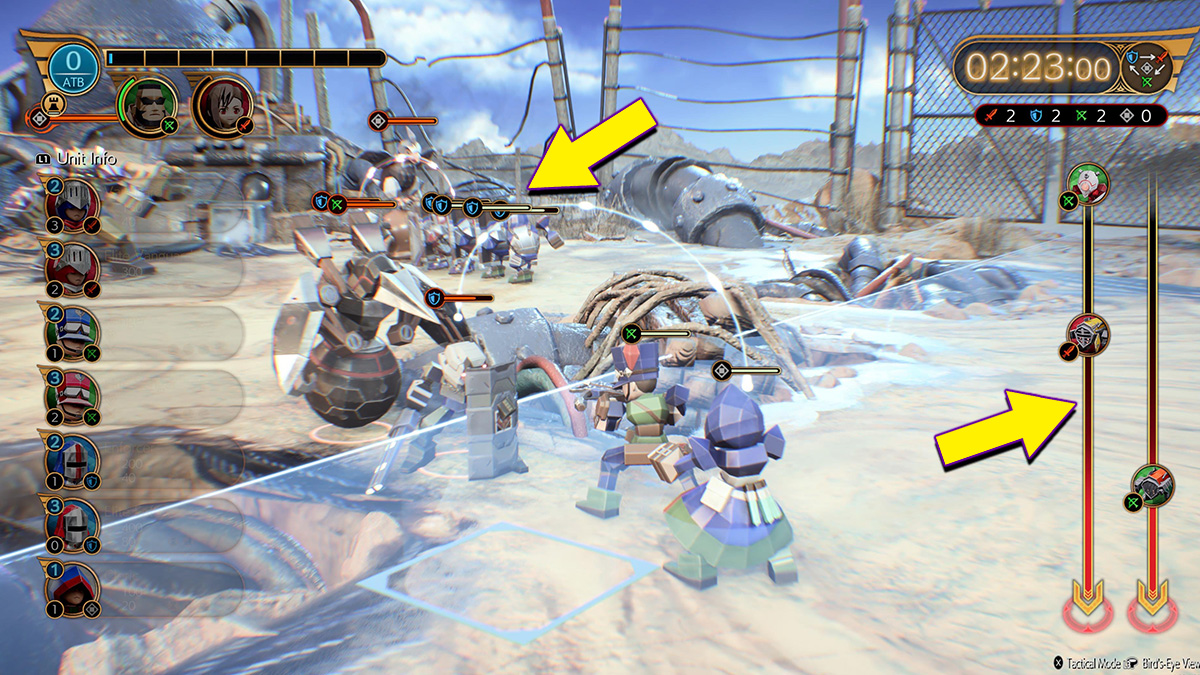
The last thing you need to know about Fort Condor is controlling each of the three lanes. One of the first mistakes new players make is not realizing they can place their units anywhere on the map below the divider line. One of the main goals in each Skirmish is to push that white divider line further into the enemy’s side, allowing you to deploy units anywhere on the map.
Conversely, this is also why it’s important to pay attention to each lane. The screenshot below shows that my units in the right lane are deep into the enemy territory, but my left lane is pushed way back. As a result, I’m actually losing this match because the divider line is so close to my side, which limits where my new units can spawn in. You can also check the progress of both lanes in the chart on the right side of the screen.
How to win Fort Condor in FF7 Rebirth
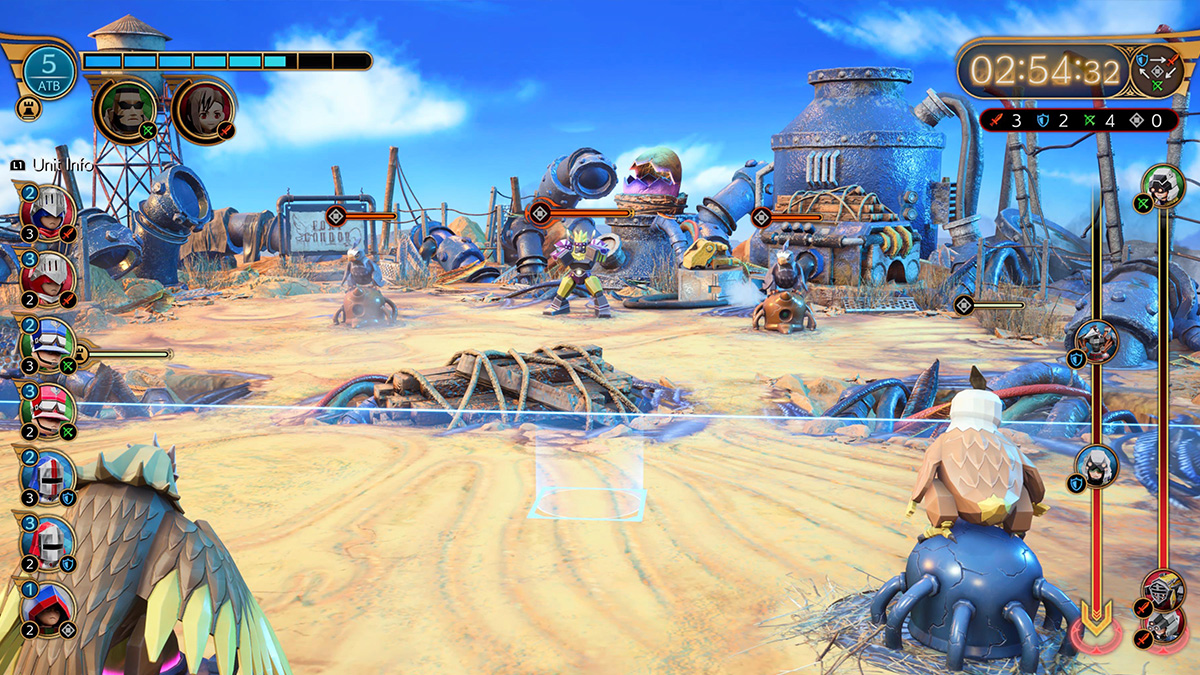
Okay, so now that you have a basic understanding of how Fort Condor works, let’s jump into a skirmish. At the start of the battle, you will notice that you can move your units anywhere before the board’s divider line, as seen in the example screenshot below. However, you do not want to place a unit down yet until you know what enemy units are being played.
In my match, the Warlord placed two Vanguard (Sword) units in my right lane. So, to counter that, I placed two Shield units at the dividing line to meet them head-on. As my ATB meter filled back up, I kept placing more Shield units to destroy the other team’s Sword units to push the lane.
You will want to continue to place units at wherever the divide line is and manage both lanes. So if the enemy starts sending Ranged (Bow) units down the left lane, then you need to shift and start sending Vanguard (Sword) units to attack them. You will want to keep pushing both lanes until you finally reach the other sides Outpost and Headquarters. I also recommend sending a “Cleric” to the back of your units so they can keep being healed as they push the lane.
Eventually, you will get to the enemy Outpost or boss. Once your hero meter is filled up, it’s now time to deploy Cloud, Tifa or Barret. Your Hero Unit will do devastating damage not only to the lane but also to the outpost. So it’s good to reserve these for the “final push” in the match. Make sure to leverage your Hero Unit’s strengths. So, if the Enemy Boss is Ranged (Bow), you will want to unleash Tifa on them to bring their HP down quickly.
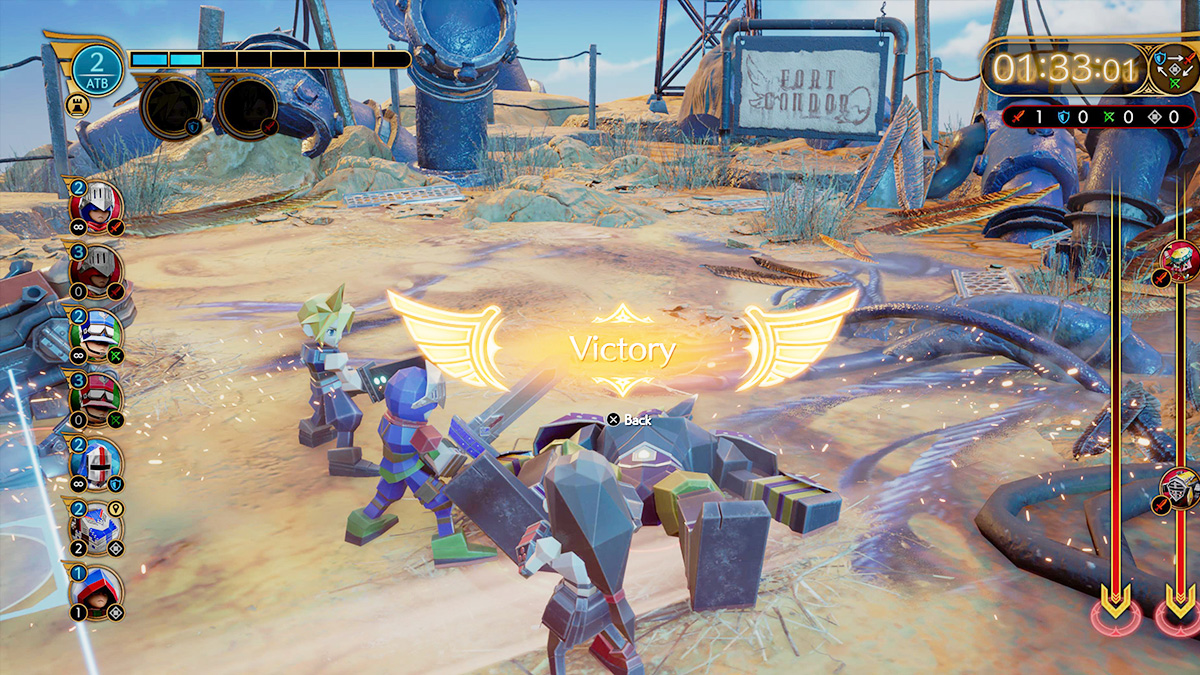
Once you take down the Enemy boss or outposts, you will earn a victory. Fort Condor definitely takes a bit of practice to understand. The key thing is to remember to push the board’s divide line and to counter each enemy lane with units that are strong against them. There are more advanced techniques, such as using the trebuchet, which does range damage to push the dividing line forward.
Or, as I mentioned earlier, utilizing Clerics to heal. However, you can definitely beat the Fort Condor side quest if you at least get down to the basics. And, of course, make sure to always keep your eye on the clock. If you find yourself at the 1-minute mark and you aren’t even deep into the enemy base, it’s probably time to reset. This is because you will need time to take out the enemy boss and outpost.
All Fort Condor locations in Final Fantasy VII Rebirth
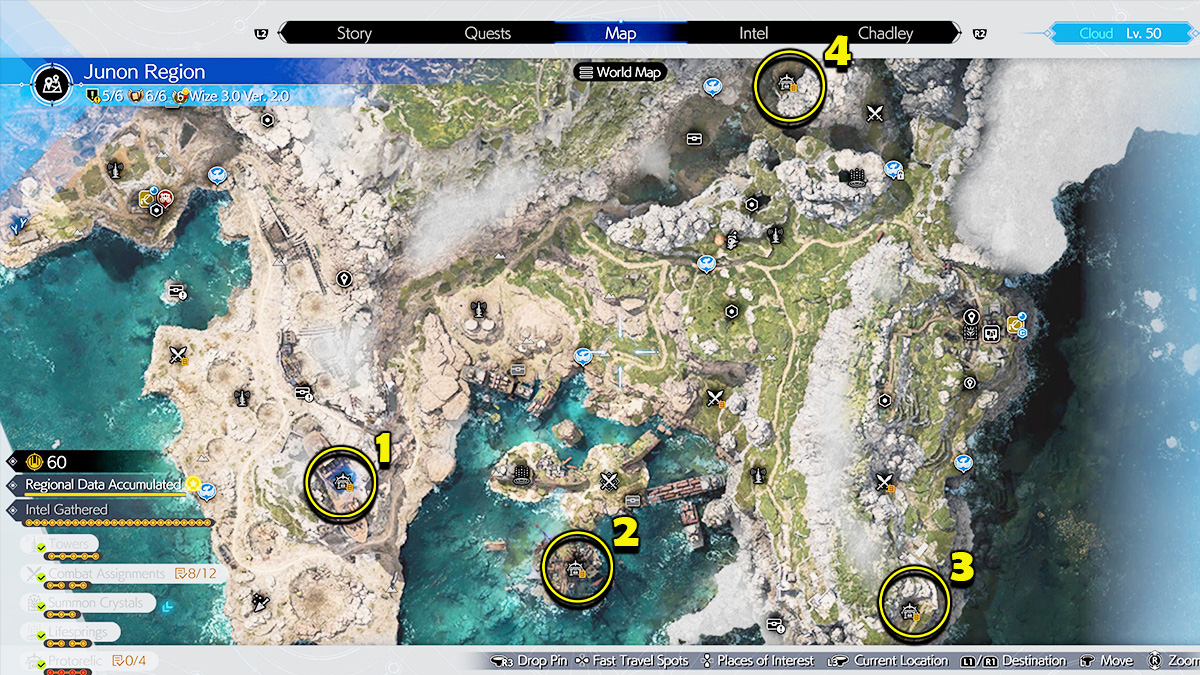
There are a total of four Fort Condor matches in the Junon Region in Final Fantasy VII Rebirth. You must complete them in order, however, to unlock the next challenge. So, after defeating Phenomenon Intel 1: The World of Fort Condor, you will then be able to go around the region to take on the remaining three.
You can find all Fort Condor locations in FF7 Rebirth on the map below:
The only thing to note is that Phenomenon Intel 1 is actually locked behind the main story progression. You will need to head into Under Junon first. Once you have moved the story past the Junon Inn, you can pick up the quest “When Words Won’t Do” after speaking to Ronda.
This will give you access to the Crow’s Nest on the east side of the map, which is where you can find Fort Condor Intel 3. For more tips on the game’s vast side content, check out our All Moogle Emporium Locations in FF7 Rebirth guide.
Final Fantasy VII Rebirth is now available on PlayStation 5.