
Arlecchino’s Boss Domain, also known as Scattered Ruins and Memories: Parting of Light and Shadow is a weekly boss battle in Genshin Impact. This guide will break down how to defeat Arlecchino in Genshin Impact.

Players are able to challenge Arlecchino once per week to receive character talent materials and weapon Billets. As part of this battle, you need to fight Arlecchino, or the Knave, in two phases of combat. It’s a difficult fight, so here’s everything you need to know in order to prepare for it.
How to Unlock Arlecchino in Genshin Impact
The fight with Arlecchino can be triggered by completing Arlecchino’s Story Quest. Her Story Quest can only be unlocked after completing the Fontaine Archon Quest. Once that has been completed, you can challenge her by traveling to her boss’s domain, which lies north of the Court of Fontaine, just below Mount Esus East.

How to Beat Arlecchino in Genshin Impact
The battle against Arlecchino takes place over two phases. In Phase One, you’ll want to stick to hitting Arlecchino from behind with your DPS. Most of her moves don’t target the area behind her. Those that do are AoE attacks that you’ll have to run away from in order to properly avoid. A lot of ranged attacks will also be ineffective because Arlecchino will either teleport away or she will summon a shield to block them.
In Phase Two, it’s better to keep your distance if you want to survive all her attacks. Ranged characters are more useful during this phase because she can’t instantly dodge them as much. She is able to teleport between attacks, but if you time your shots right, they’ll still land. The best time to attack is when she is just about to attack or if she has just attacked. For a few moments during this window of time, she won’t be able to stop you.

Arlecchino’s Moves in Phase One
| Moves And Effects | Image | What To Do |
| Basic Slash: Arlecchino slashes the area in front of her. | 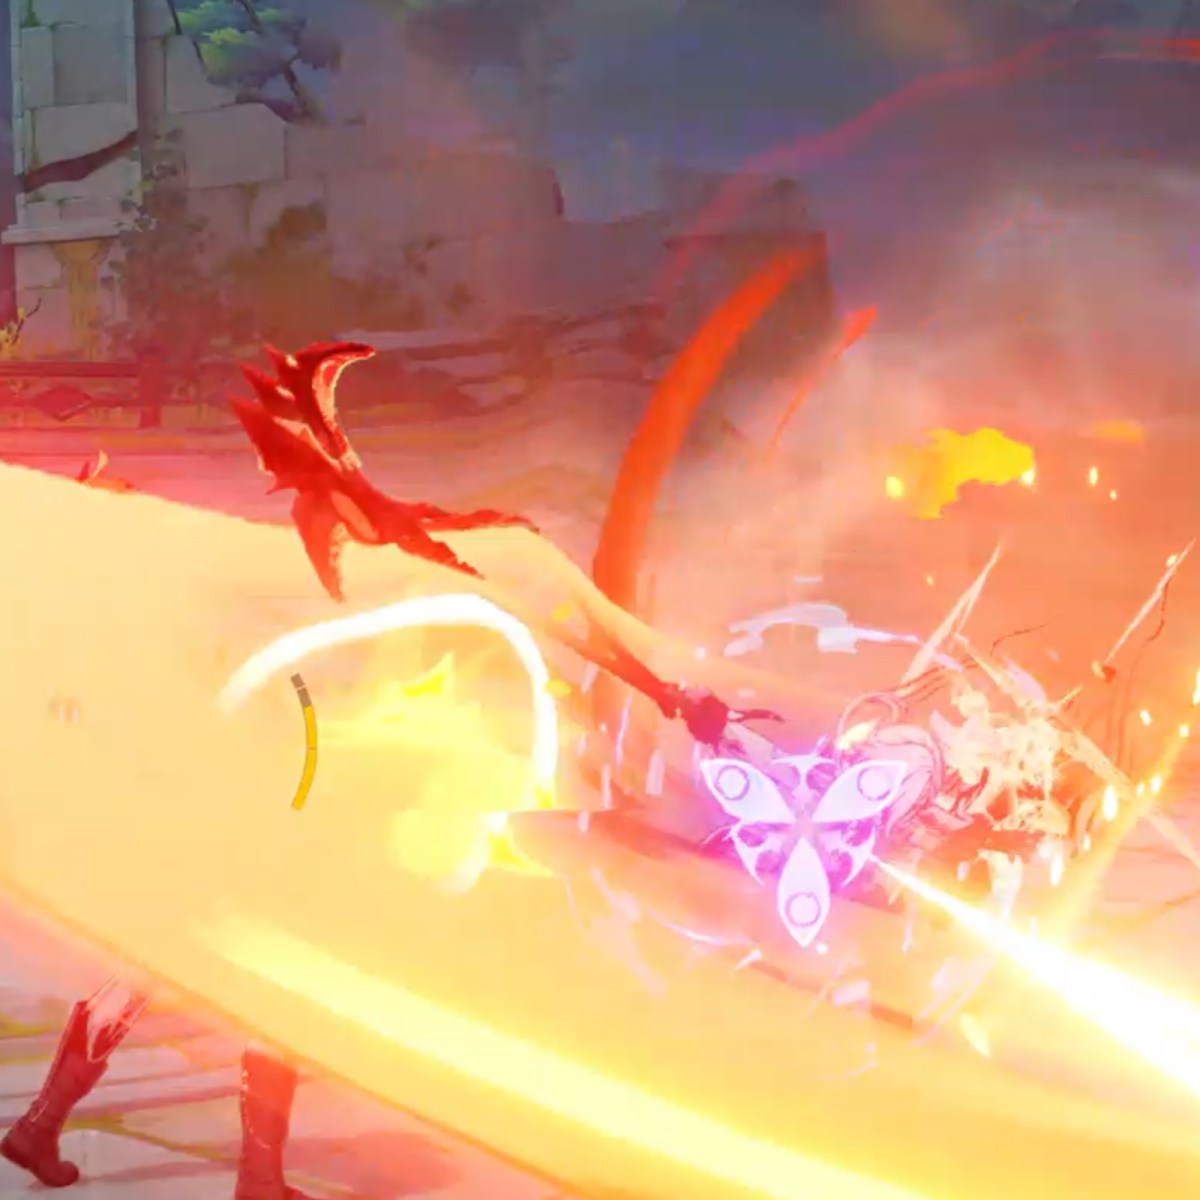 | Stand behind her. If you’re caught in it, this attack doesn’t have a wide AoE, so run to the side. |
| Yo-Yo: Arlecchino throws her scythe, and it boomerangs back. When she catches it, she does a swipe at the area in front of her. | 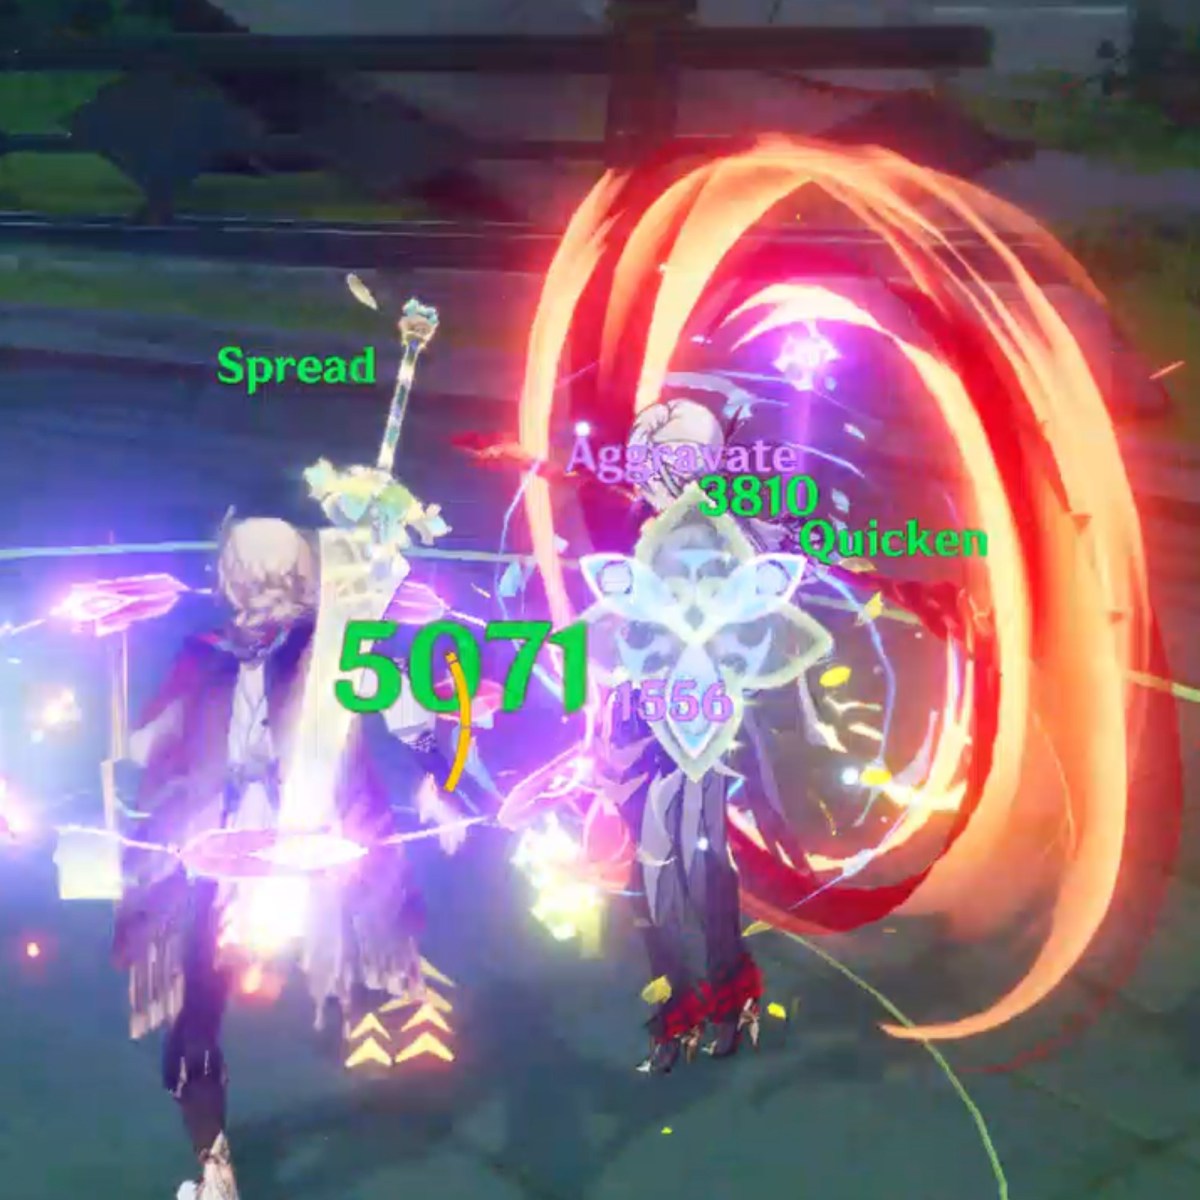 | This move doesn’t have much of an AoE, so just move to the right or the left and make sure you’re behind her or a decent distance away from her before she catches it. |
| Red Hand Thrust: Another one of her smaller moves, usually following the Yo-Yo attack. She’ll thrust out her hand and a large red hand will extend from her, striking the area directly in front of her. | 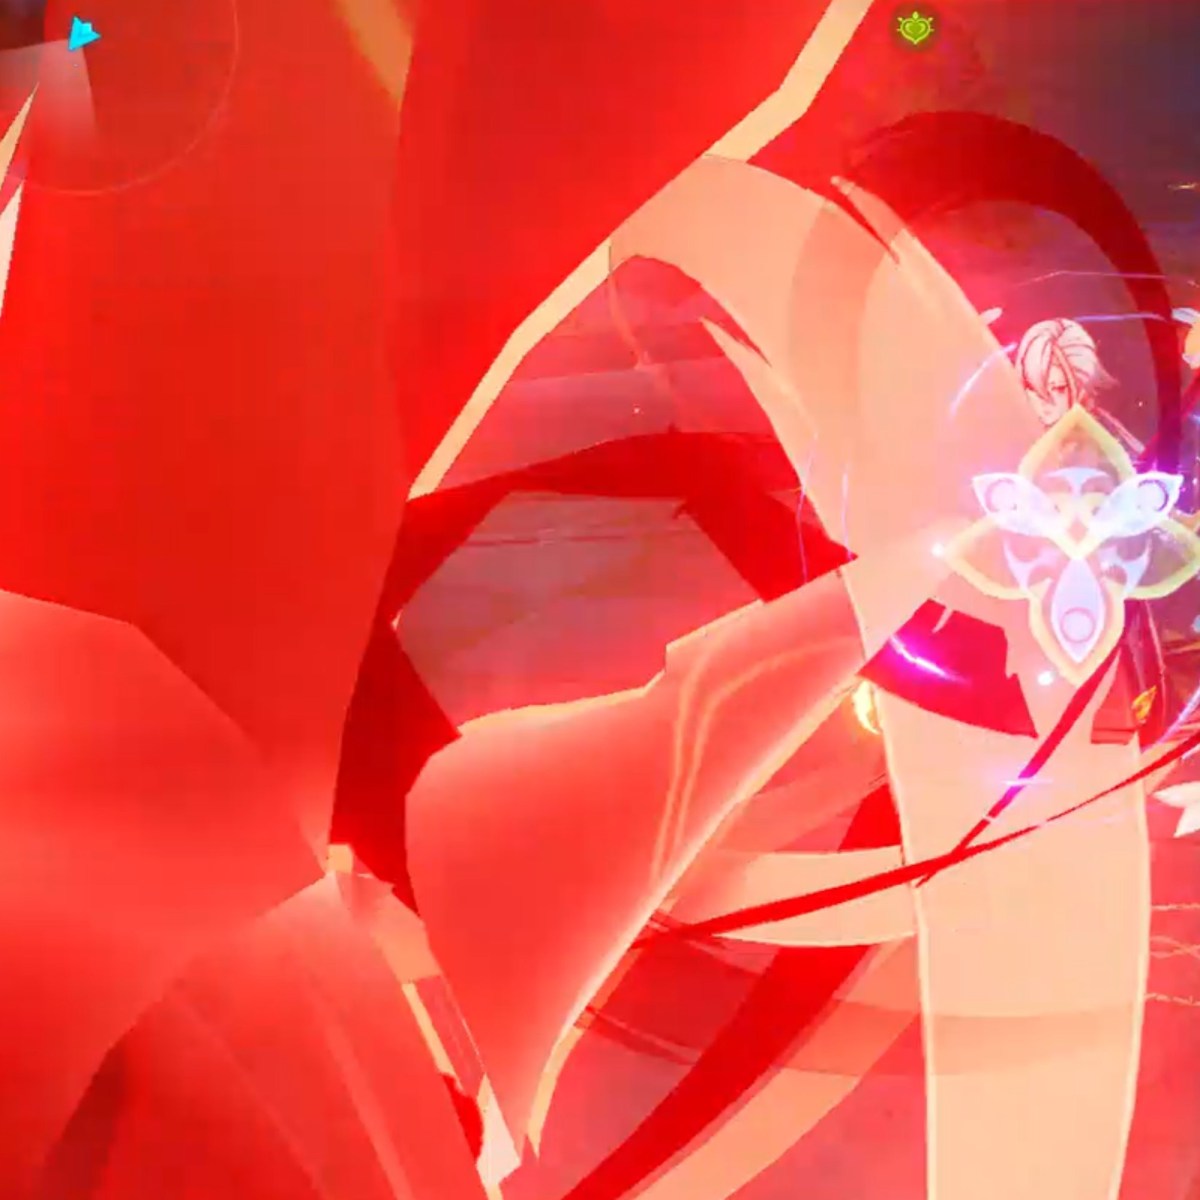 | This attack only affects the area directly in front of her, so you can avoid it by running to the side. |
| Bond Of Life Acrobatics: Arlecchino hits you with a Bond of Life. She’ll throw out a couple of red copies of herself, which will dive-bomb you. Then she’ll swoop down and strike you. | 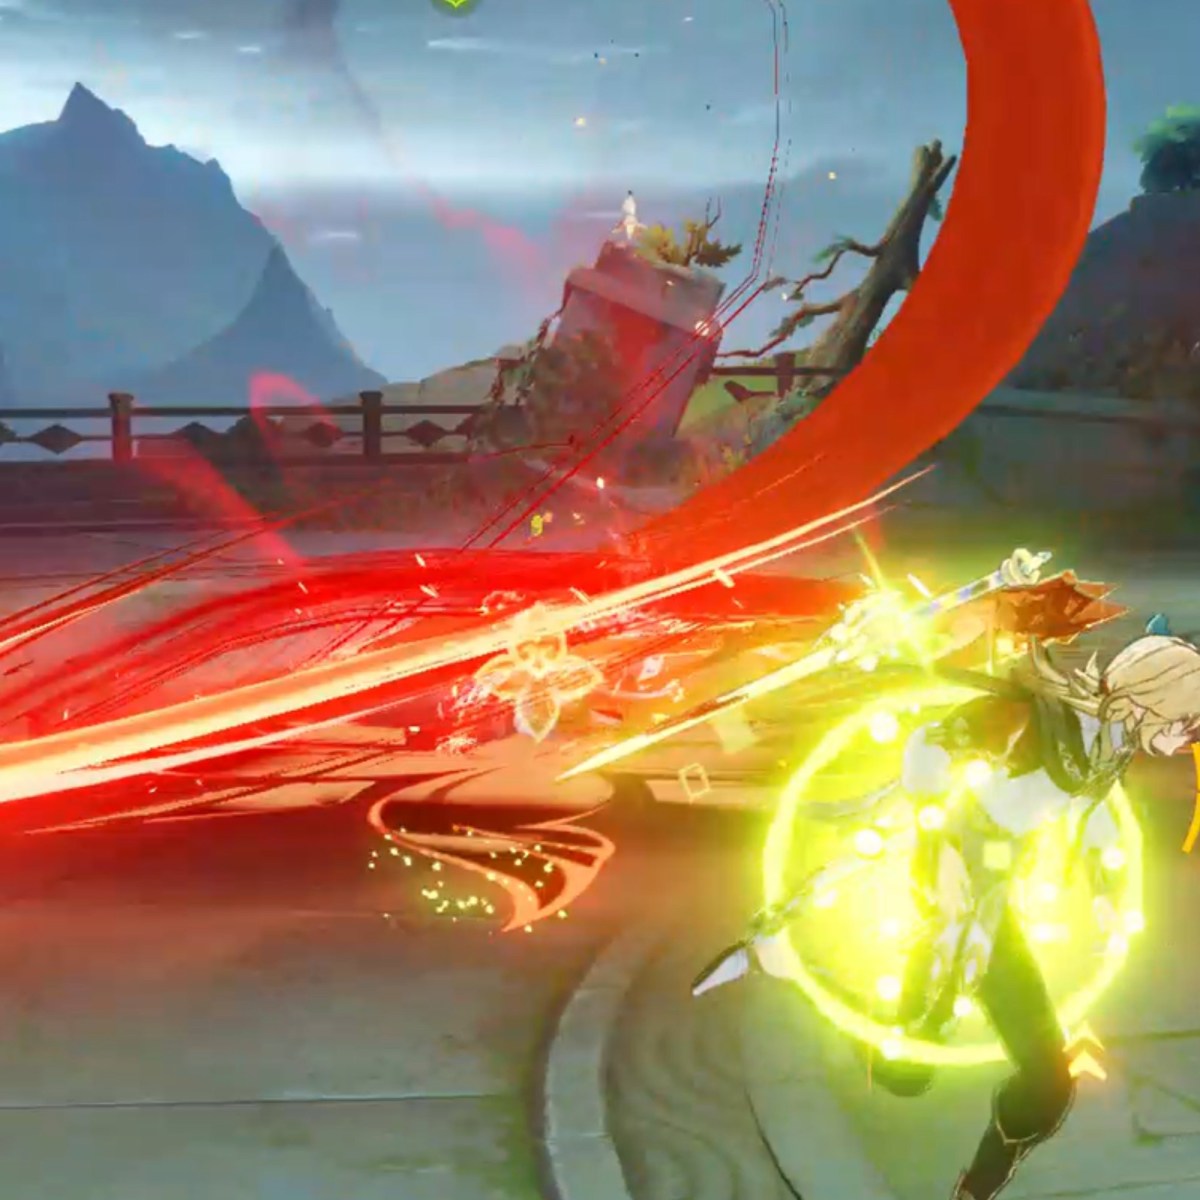 | Use your healer to heal Bond of Life. When she swoops down to attack, run away and wait until she has returned to the ground. When she does so, hit her with a Charged Attack. Generally, it’s better to do this with a character who doesn’t use a bow because she will dodge the arrow. |
| Aerial Slash: Arlecchino leaps into the air and jumps down onto you, doing a slash. She will then quickly change into another move. | 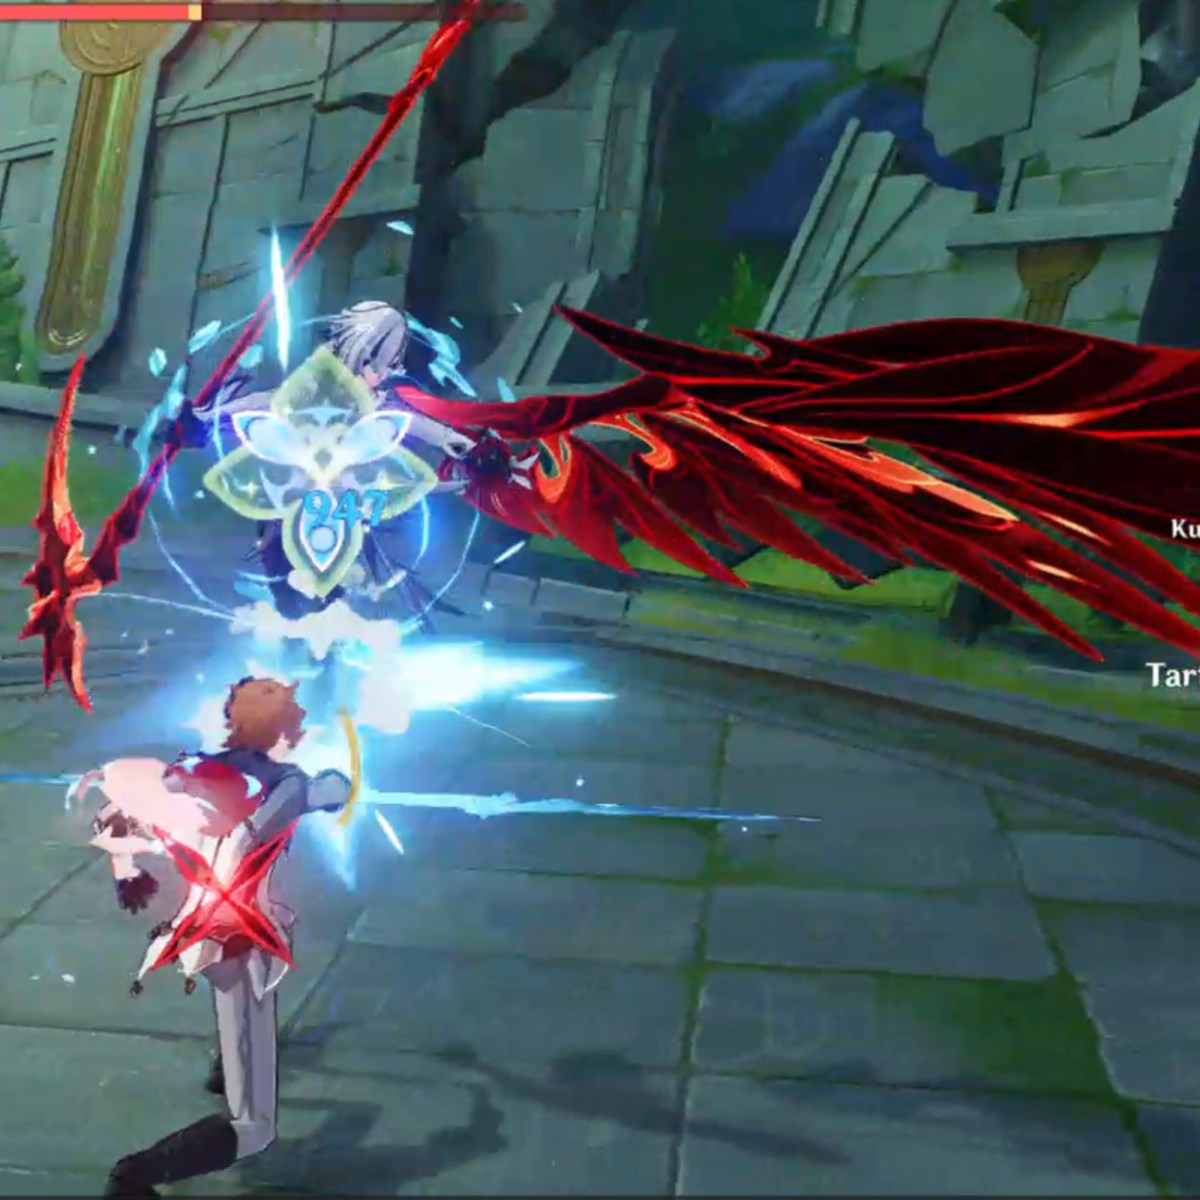 | Run out of the way as soon as you see her jumping into the air. |
| Threads: Arlecchino concentrates, creating a large red circle around her. Threads will appear in the air around her, piercing the ground. They’ll glow, creating red spikes in the ground. | 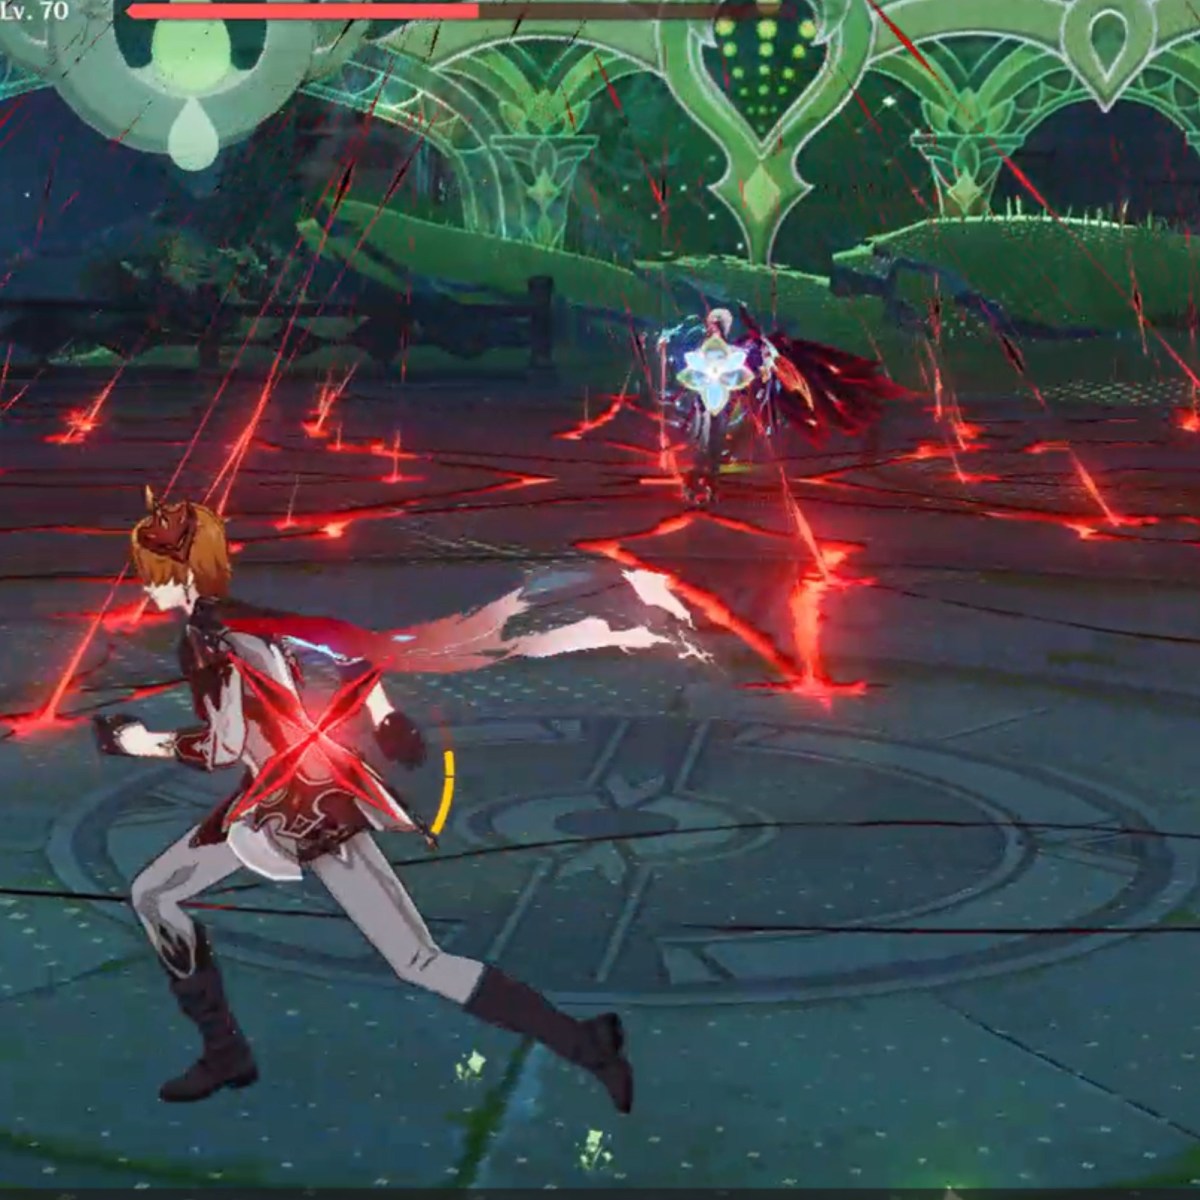 | Run as fast as you can. This move happens really quickly, so you’ll likely be unable to escape and have to take it. |
| Wing Slash: This is one of her smaller moves. A red wing will extend from her back, and she’ll slash both it and her scythe. This attack has a wide AoE. | | Run away or stand behind her. |
| Claw Strike: Claws burst from the ground, swiping in an X shape. After, more claws burst from the ground, striking at everything in a large AoE. | 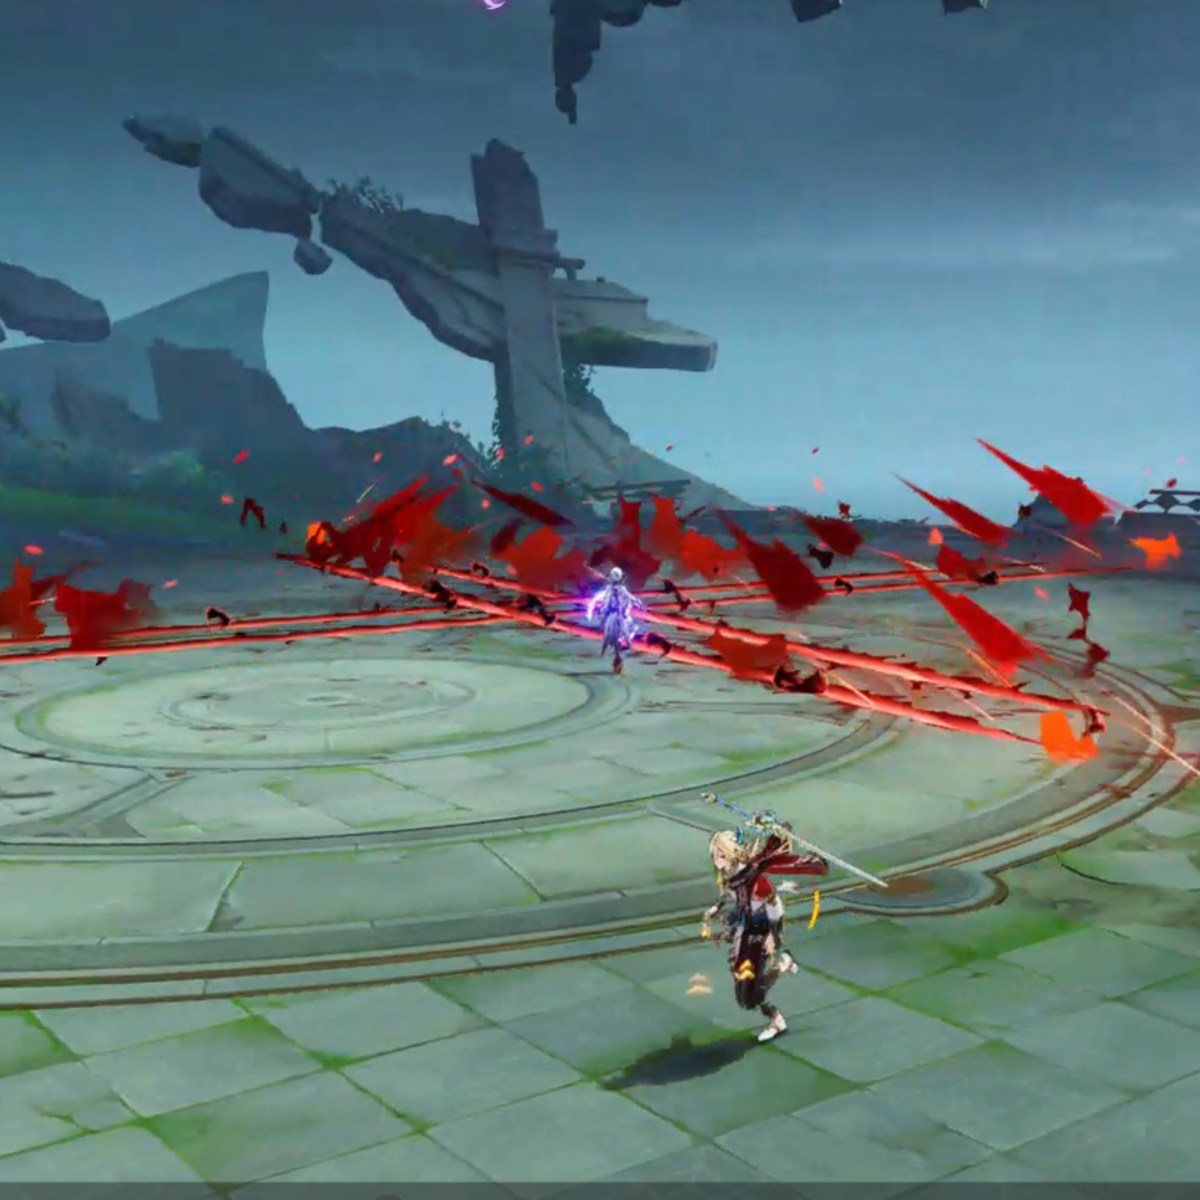 | It sounds scary, but this move is extremely easy to dodge. The claws’ movements are broadcast by red lines in the first part of the attack. This helps tell you in which direction you should run. If you keep running, you will have more than enough time to get out of range from their final strike. |

Arlecchino’s Moves in Phase Two
| Moves And Effects | Image | What To Do |
| Divebomb: Arlecchino stands on a thread in the air and divebombs you, dealing a huge AoE of Pyro damage. This is the first move she will do in Phase Two. |  | Run or have your healer on standby for when it hits your character. |
| Targeted Slashes: Arlecchino summons two scythes, visibly marks you as her target, and lunges at you. The start of this move looks like the animation for her Yo-Yo attack in Phase One. |  | When she marks you as her target, a glowing red sigil will appear on your active character. When this happens, start running. |
| Circular Slashes: One of her Phase Two basic attacks. She throws a scythe at you, like in Pase One’s Yo-Yo attack, and then she does a few lunges and slashes, trying to target you as you move around. Some of these slashes will also encompass the area directly around her. |  | Keep moving around and hit her with ranged attackers so you don’t get hit. |
| Bond of Life AoE: Arlecchino inflicts your active character with Bond of Life, and then she will do three circular AoE attacks, dealing Pyro damage. These attacks will encompass a circle around her, the perimeter around the first circle, and then the immediate circle around her again. | 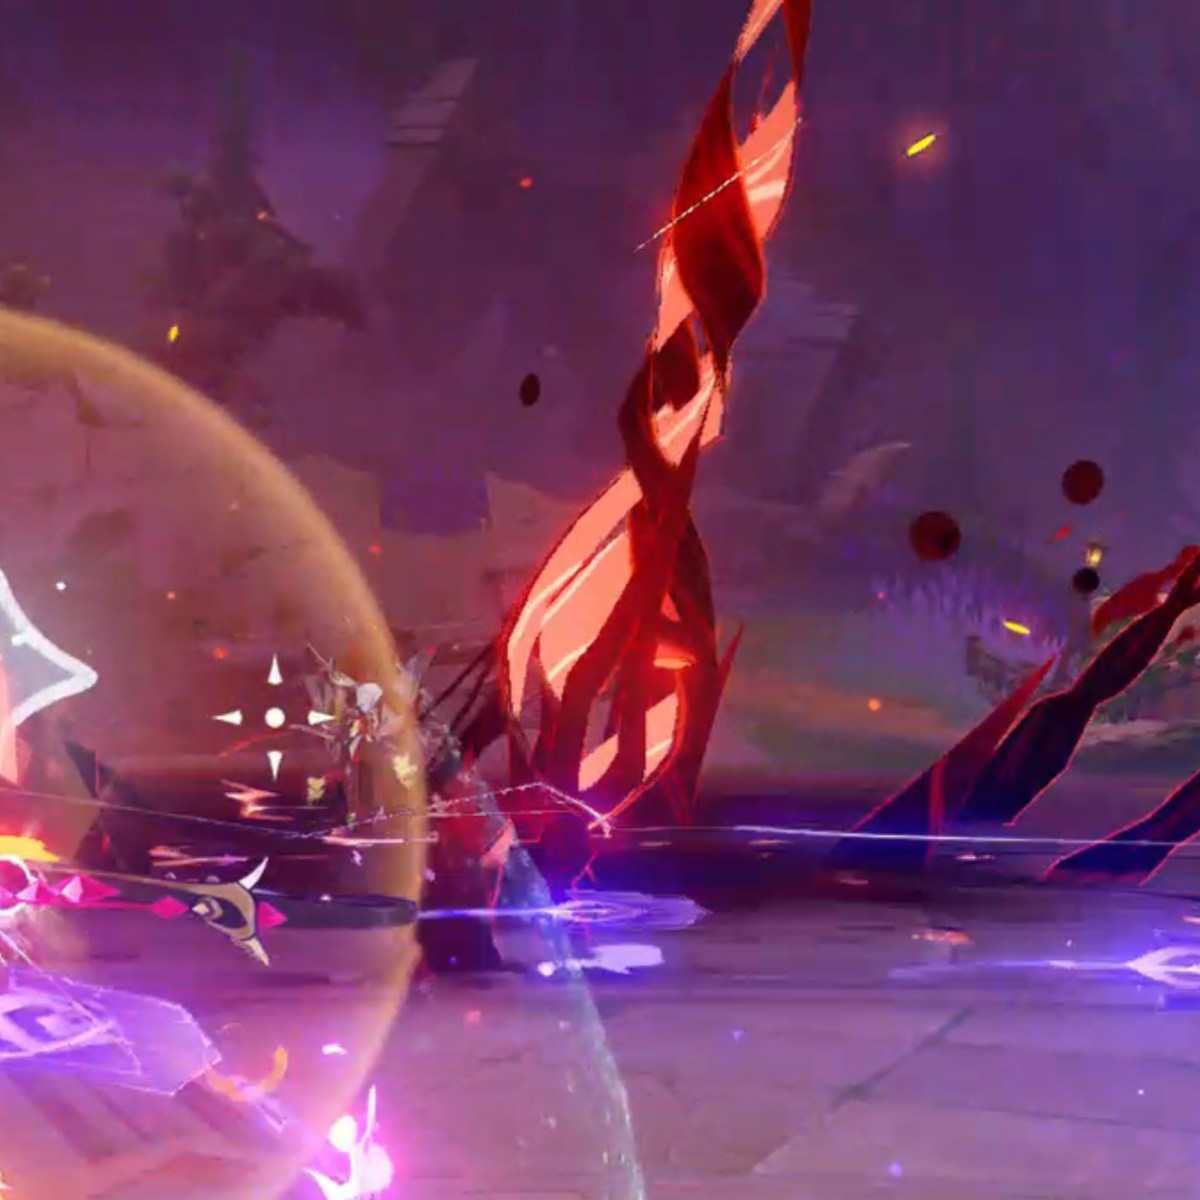 | Have a healer ready to clear the Bond of Life. To avoid this one, it will involve a lot of bobbing and weaving. First, run out of the AoE of the first circle. Next, run into the area where the circle originally was. Finally, run back out of that circle. |
| Piercing Fire: Arlecchino will rise into the air and have Pyro missiles rain down upon you. When hit, they will inflict Bond of Life. Next, she will send six orbs smash into the ground, forming an oval on the battlefield. They will explode in the next few seconds. Just before they explode, Arlecchino will divebomb you, dealing a huge AoE of Pyro damage. | 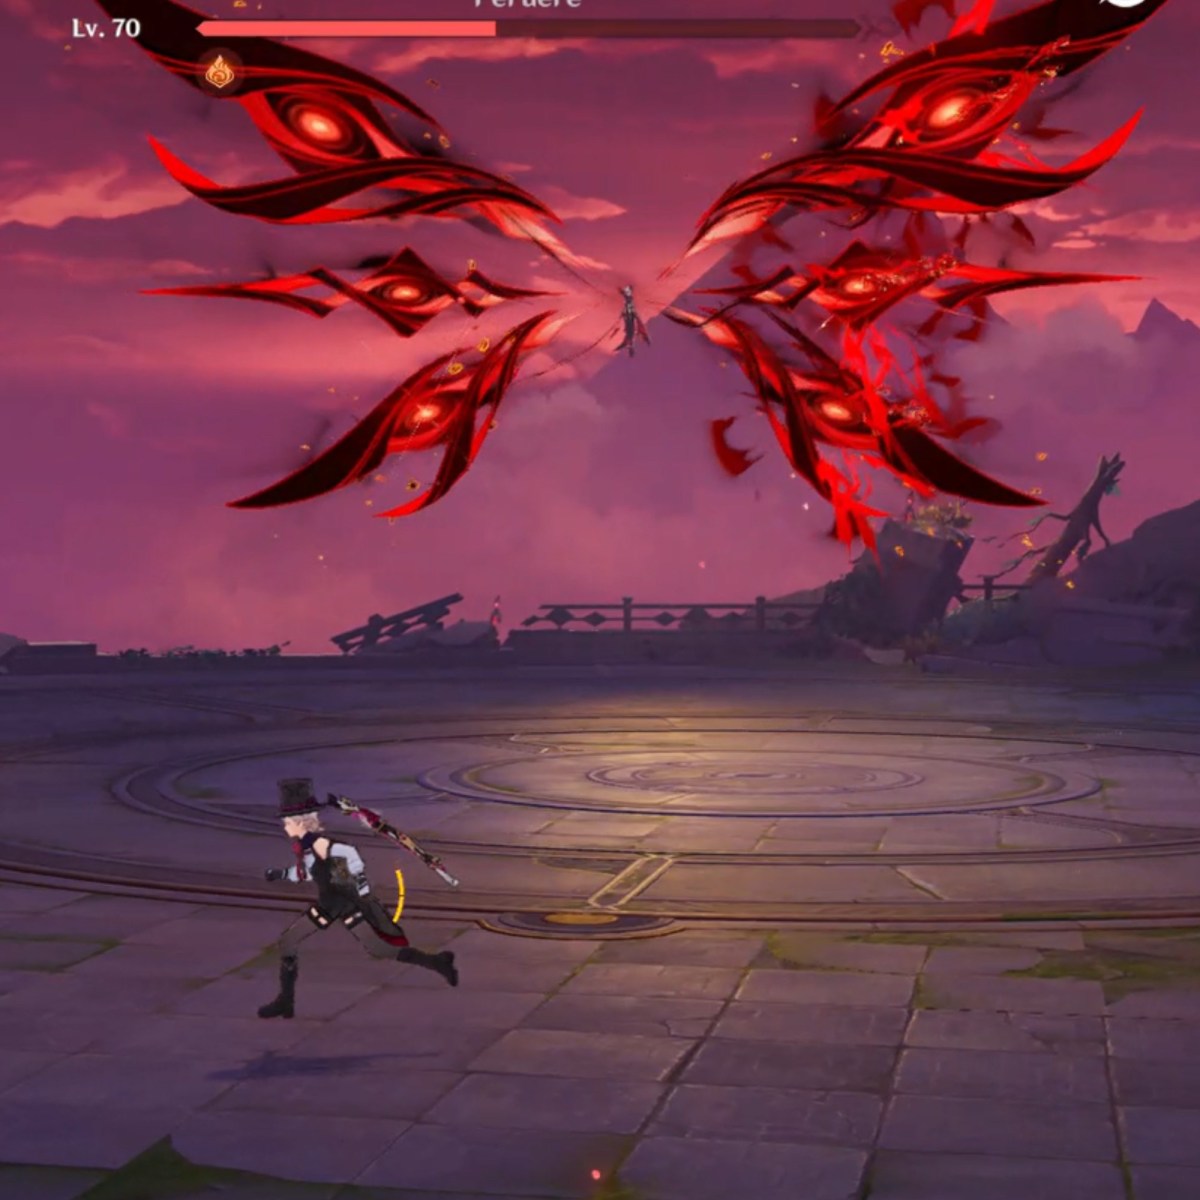 | Dodge and weave around the missiles. When the orbs hit the ground, they start running straight toward the empty space in the middle of the oval they form. |
| The Laser: Arlecchino will use a thin red string to aim at you, and then she hits you with a huge beam of energy. | 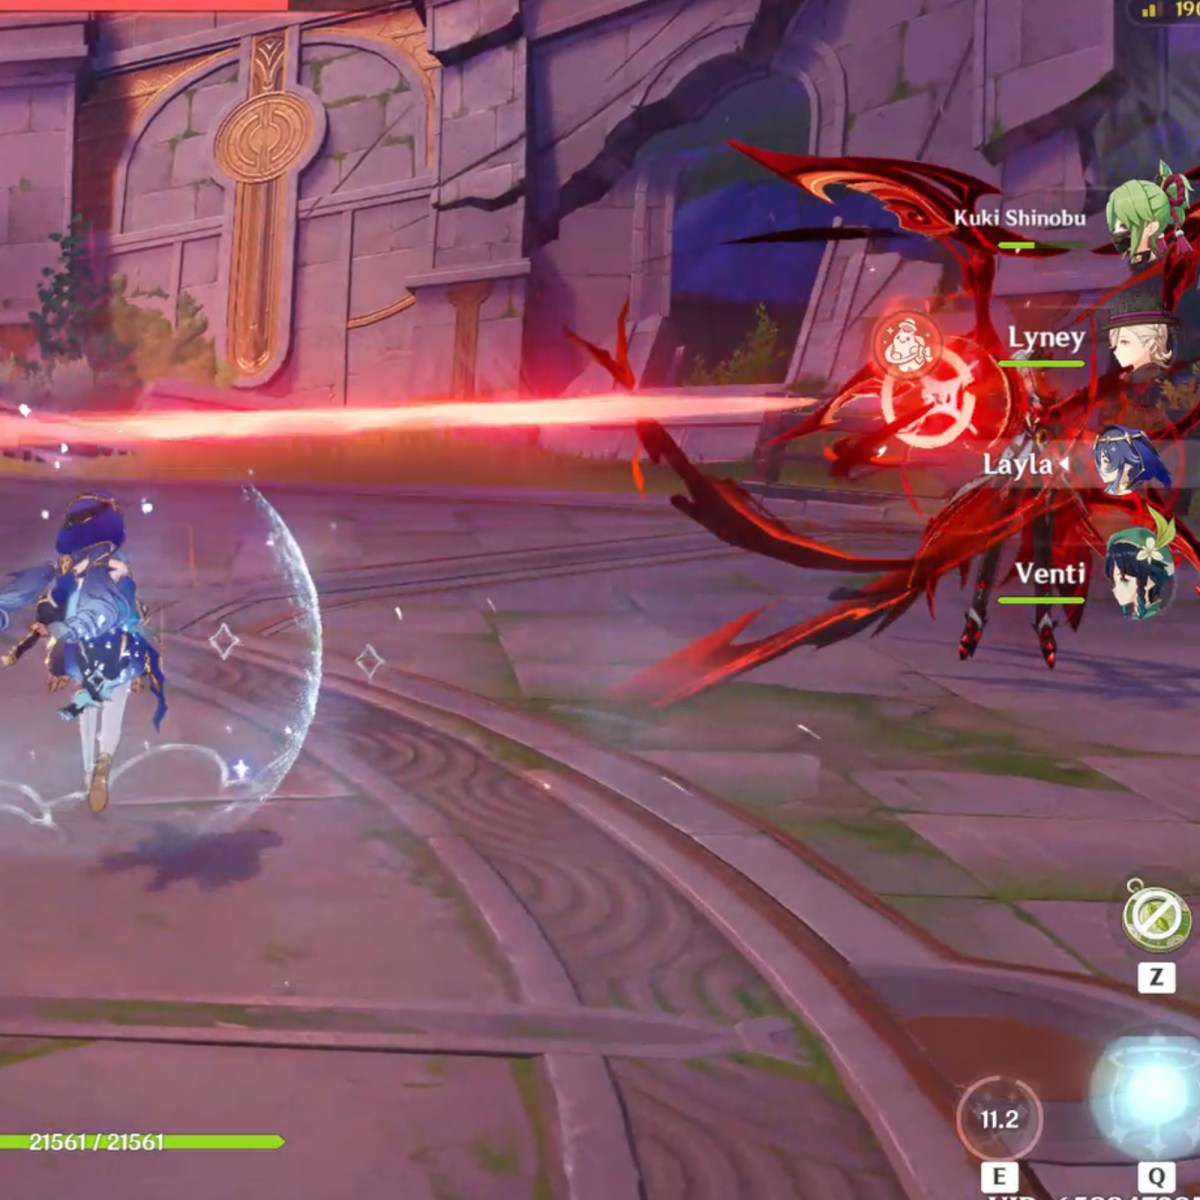 | Just run out of the way as soon as you see the red string aiming at you. It doesn’t move much after it’s cast, so it’s super easy to dodge. |
| X-Scissor: Arlecchino draws an X in front of her. She then deals an AoE of damage around her. | 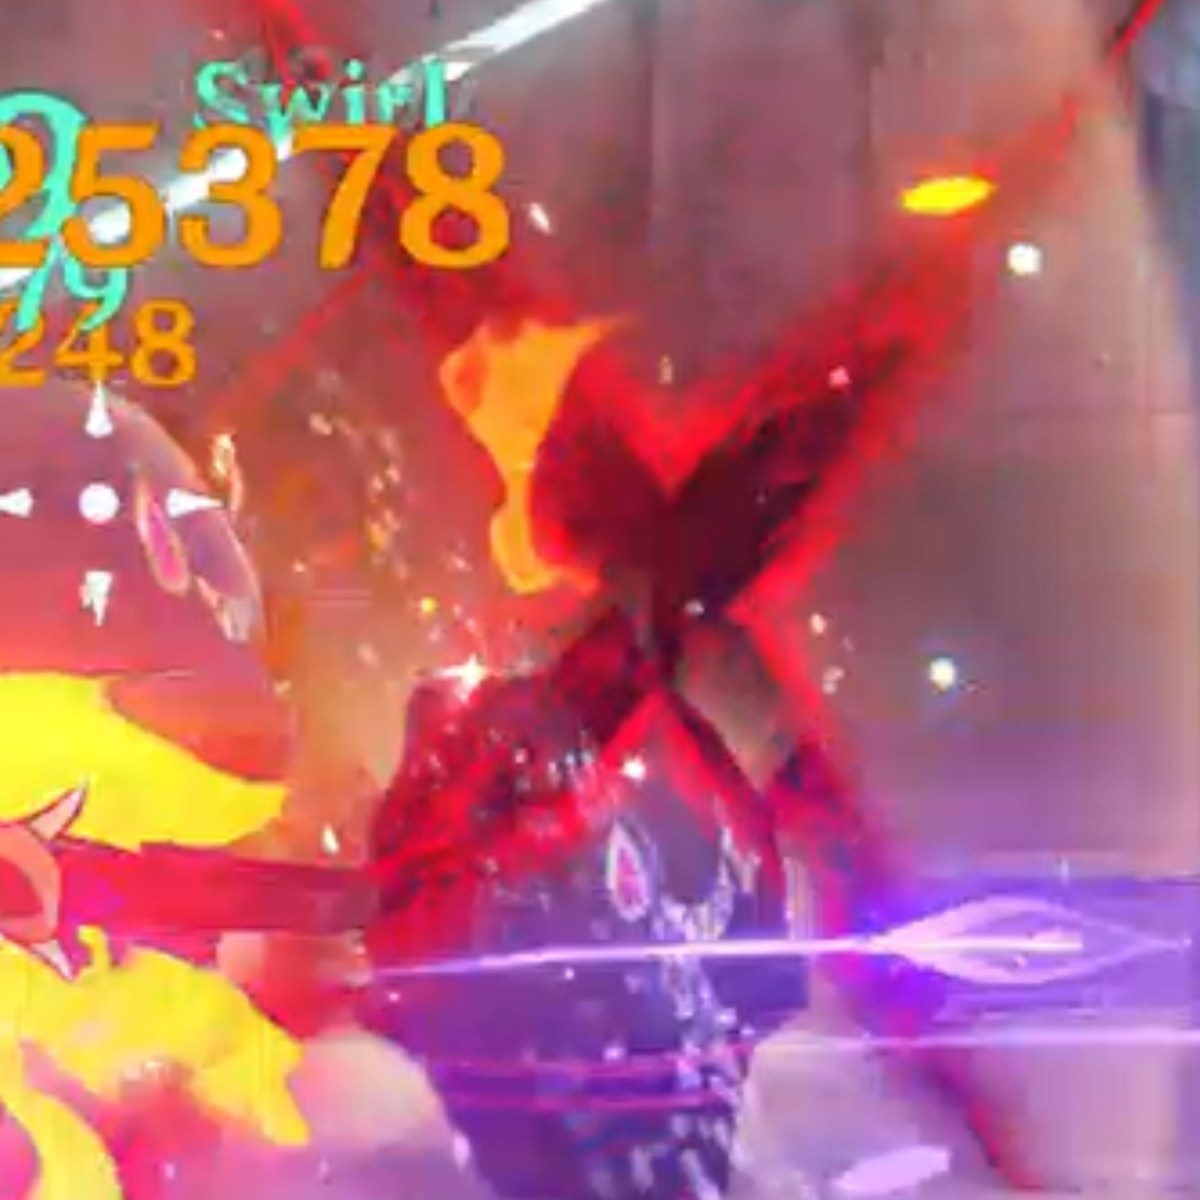 | Run away as soon as you see her drawing the X. |

Recommended Characters to Defeat Arlecchino
Claymore-Wielder: Claymore units have an increased chance of interrupting Arlecchino between attacks in Phase One. This will give you a bigger chance of inflicting damage and not getting hurt. Good characters for this include:
- Beidou
- Diluc
- Freminet
- Kaveh
- Navia
- Noelle
- Razor
- Xinyan
Ranged Attacker: Ranged Attackers are the easiest way to deal damage in Phase Two because a lot of her attacks target the spaces directly around her. Here are some of the best ranged characters to counter Arlecchino:
- Charlotte
- Faruzan
- Ganyu
- Heizou
- Klee
- Lyney
- Neuvillette
- Sucrose
- Tighnari
- Wanderer
Healers: Having a healer on your team is absolutely vital, especially when you need to clear Bond of Life.
- Baizhu
- Barbara
- Kokomi
- Kuki Shinobu
- Yaoyao

Characters Who Require Arlecchino’s Boss Drops to Level Up
Arlecchino is currently the only character who uses this boss’ boss drops. She uses Fading Candle to level up her talents. However, HoYoVerse may add new characters in the future that need to complete this domain. So it’s good to know how to defeat the powerful boss.
Genshin Impact is now available on Android, iOS, PlayStation 4, PlayStation 5, and PC.