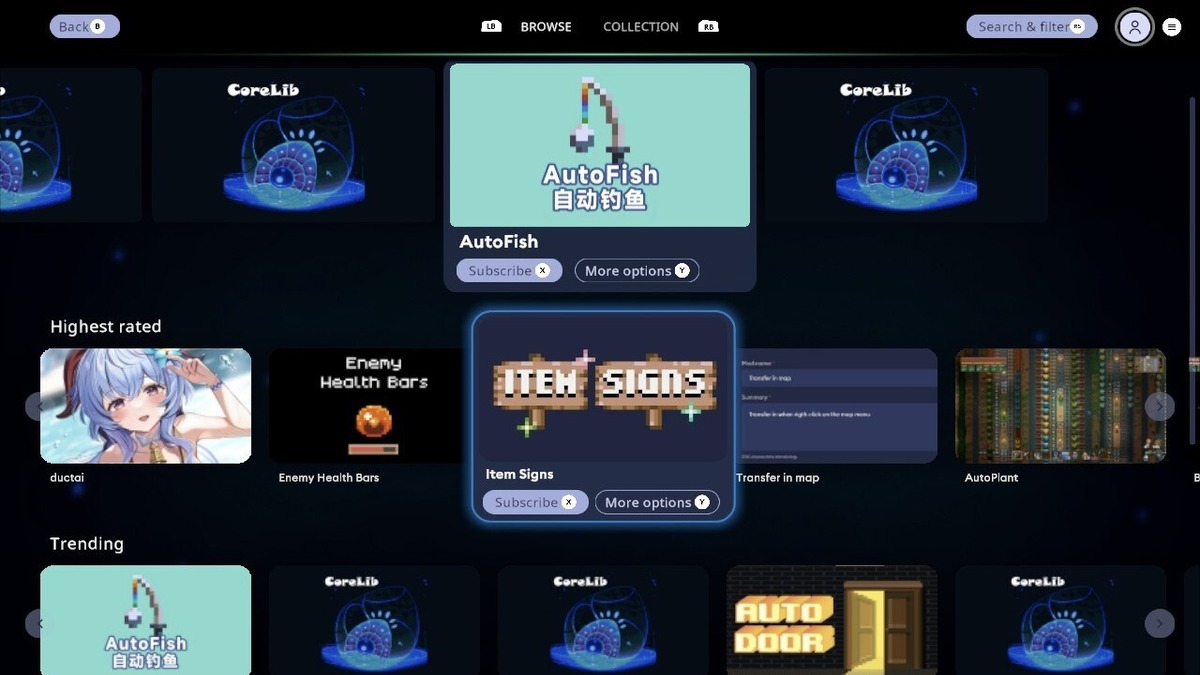
If you are playing Core Keeper on PC, you have the ability to download and install various mods to the game. Mods are one of the best ways to extend and vastly improve your overall experience. Fortunately, it is much easier now with the launch of Core Keeper 1.0 to download and install different mods.

How to Download and Install Mods in Core Keeper
Prior to the 1.0 launch, players had to go through a lot of hoops to get mods for this game. You had to use software like the Thunderstore Mod Manager. However, you don’t need to use those anymore. Now, you can just download and install mods directly from inside the game itself with the full launch out of early access.
To do this, you want to select the “Mods” option in the main menu. This will take you to a little in-game digital store on the PC version, complete with a selection of some of the most popular mods available. These are curated and picked by developer Pugstorm itself so you can generally find them fairly safe to use, at least on their own.

How to Enable and Disable Specific Mods
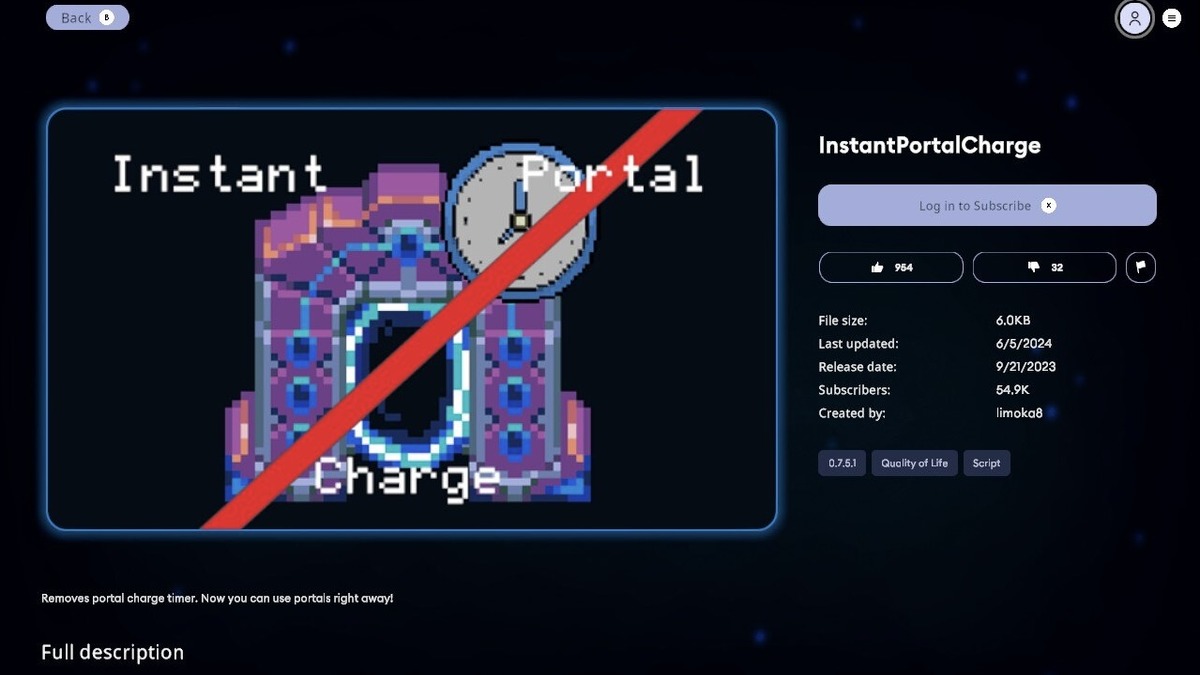
Within the mods section of Core Keeper, you can pick and choose which mods to download and install. You’ll need to first login with a mod.io account, but you can connect your Steam if you prefer. You want to subscribe to the mod in question you desire and then activate it. Don’t worry, subscribe doesn’t cost anything for mods, at least at the 1.0 launch, as they are all free for now.
While in the mods section, you can tab over to your Collection to see all of the mods you have subscribed to. Here, you can choose to individually enable and disable certain mods. This is crucial because the more mods you have, the higher chance of it harming your gameplay experience. I recommend starting out small with only a couple of crucial mods enabled.
Core Keeper 1.0 is now available for PS5, Xbox Series X/S, and PC. It will also release for Nintendo Switch, PS4, and Xbox One on September 17, 2024.


Published: Aug 27, 2024 09:35 am