In Stellar Blade, you need to find 3 Crane ID Cards to progress past the Construction Zone in Eidos 7. This guide will explain where to find the Crane ID Cards in Stellar Blade and break down the location of each quest item.
Eidos 7 Crane ID Card locations in Stellar Blade
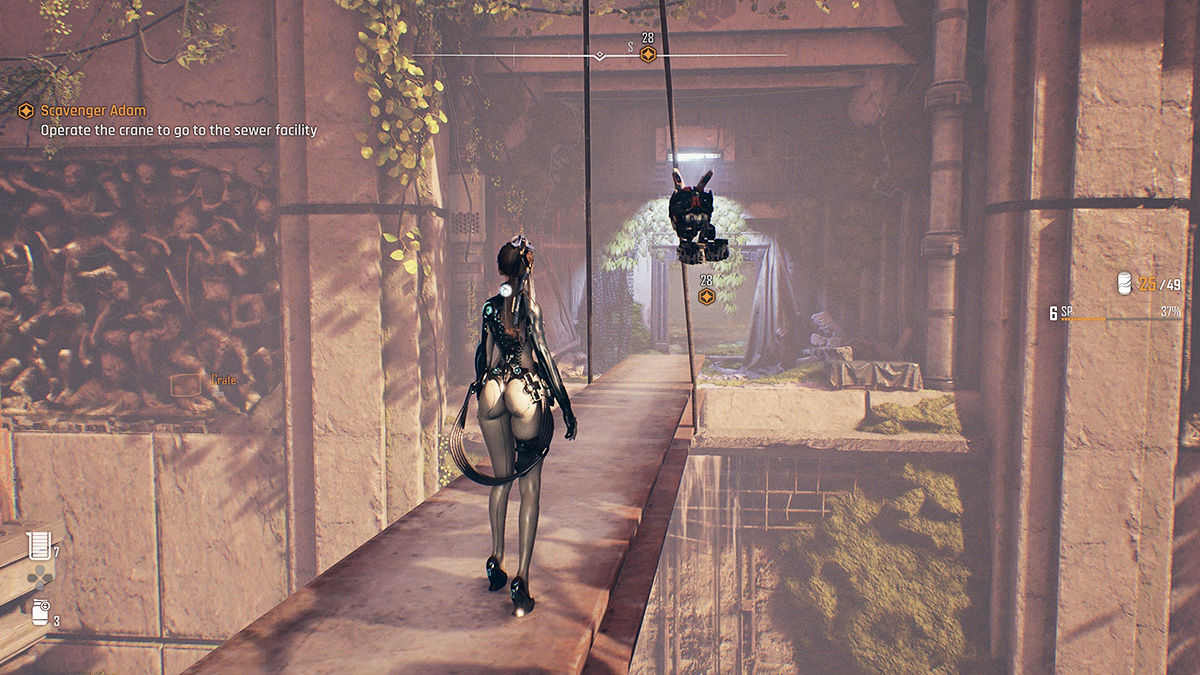
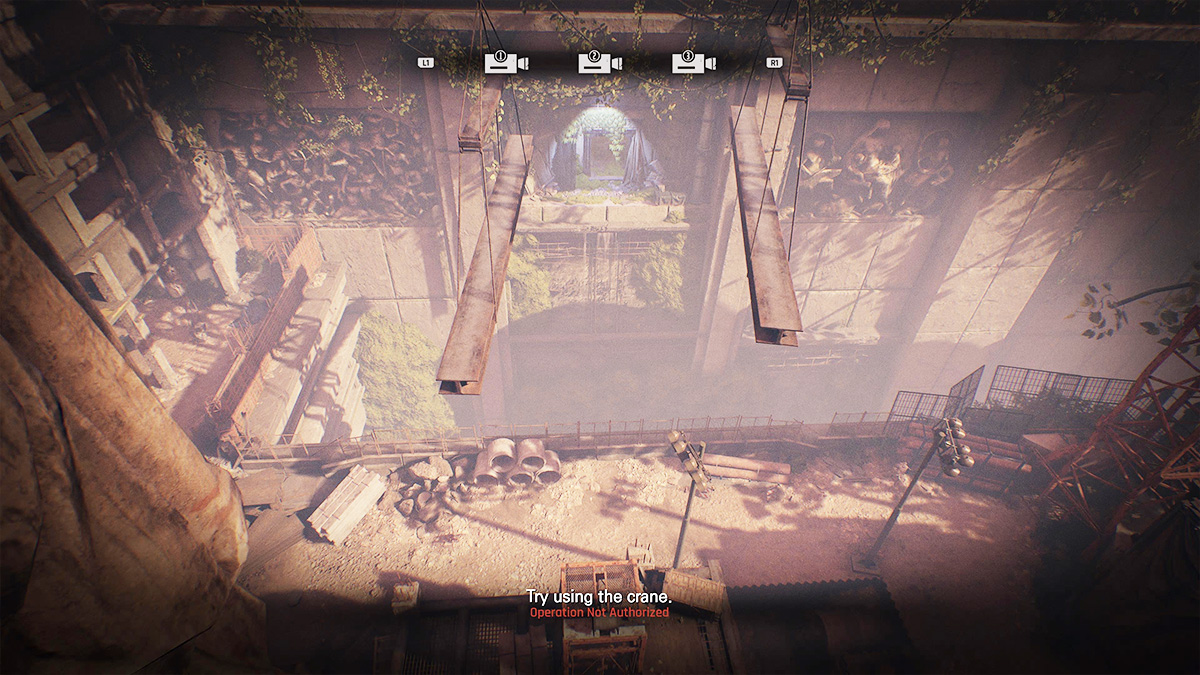
Towards the end of Eidos 7, EVE will need to use a crane to exit the Construction Zone. The only problem is that you need to find 3 Crane ID Cards before you can use the vehicle. Making matters worse, Eidos 7 does not have a map, so finding key quest items is challenging.
However, we’ve got you covered! We’ve already done the leg work and have tracked down all three Crane IDs in Stellar Blade. Below, we will break down the easiest routes to find each of the missing Cards so you can power up the Crane and complete Eidos 7.
Crane ID Card #1
The easiest way to find the first Crane ID in Stellar Blade is to immediately turn around from the crane panel you just interacted with. Walk to the campsite behind you, and then head north to the abandoned building across from the save location.
For your convenience, I have provided an image below that shows the exact spot you are looking for:
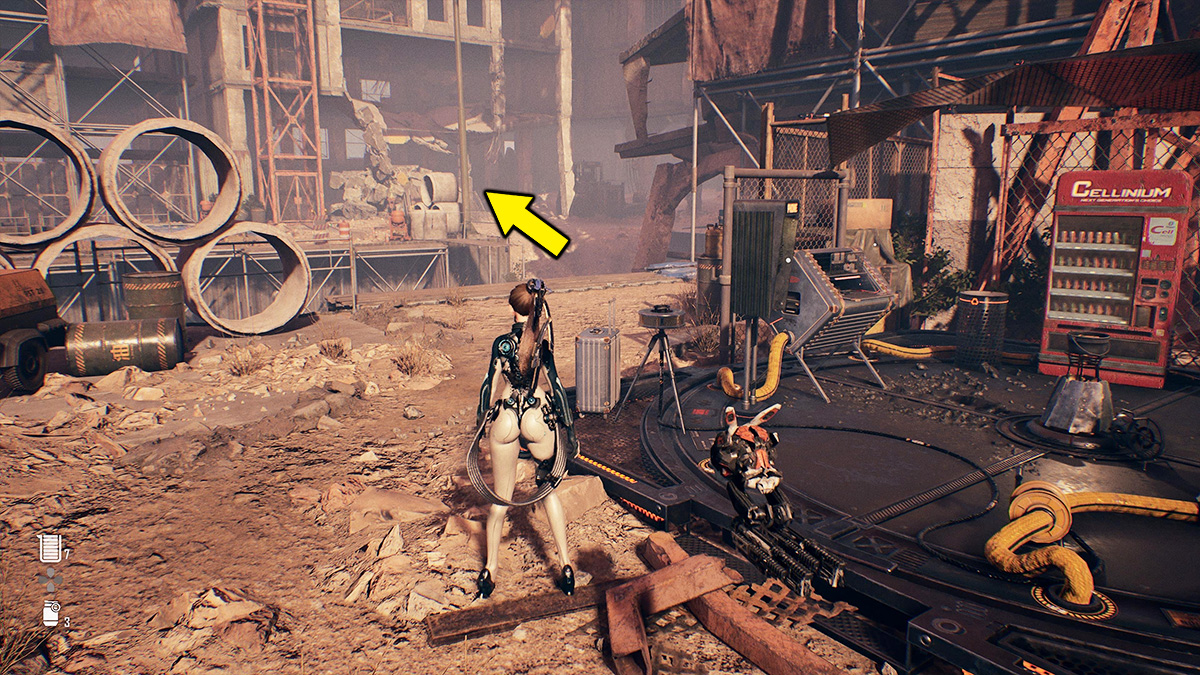
Walk over to the abandoned building rubble, and you will notice a wooden plank that has a yellow marking on it. Walk up the wooden ramp and then hop on the metal bar. Once on the bar swing EVE back and forth and then jump inside of the building.
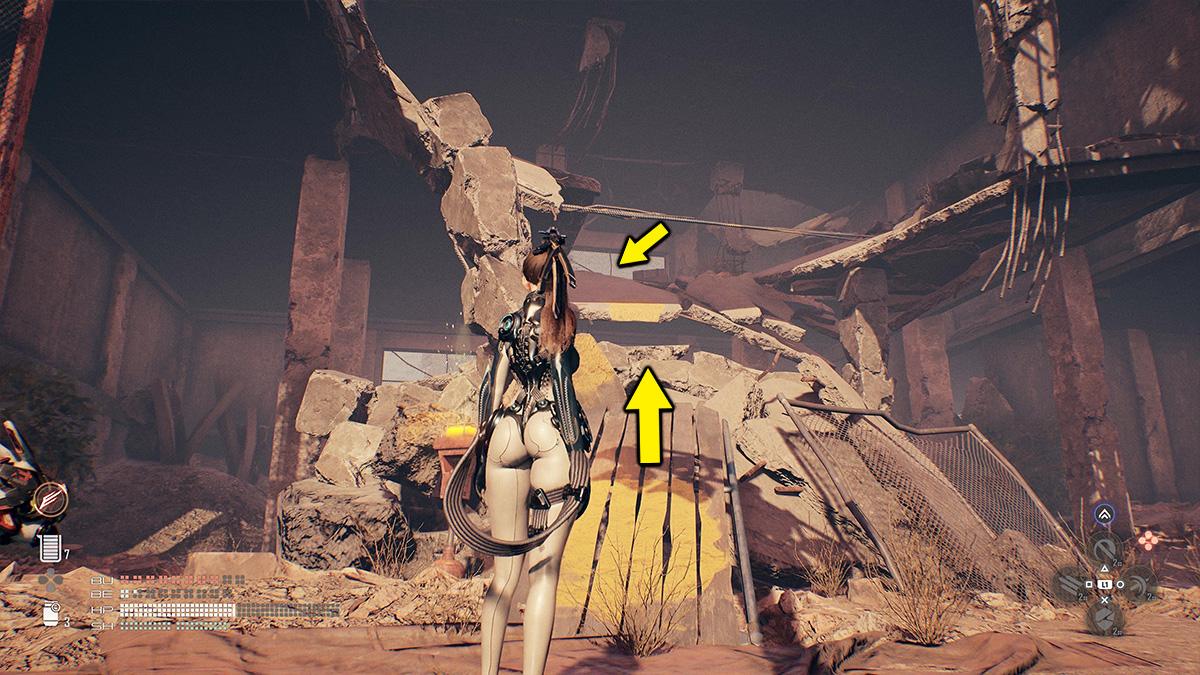
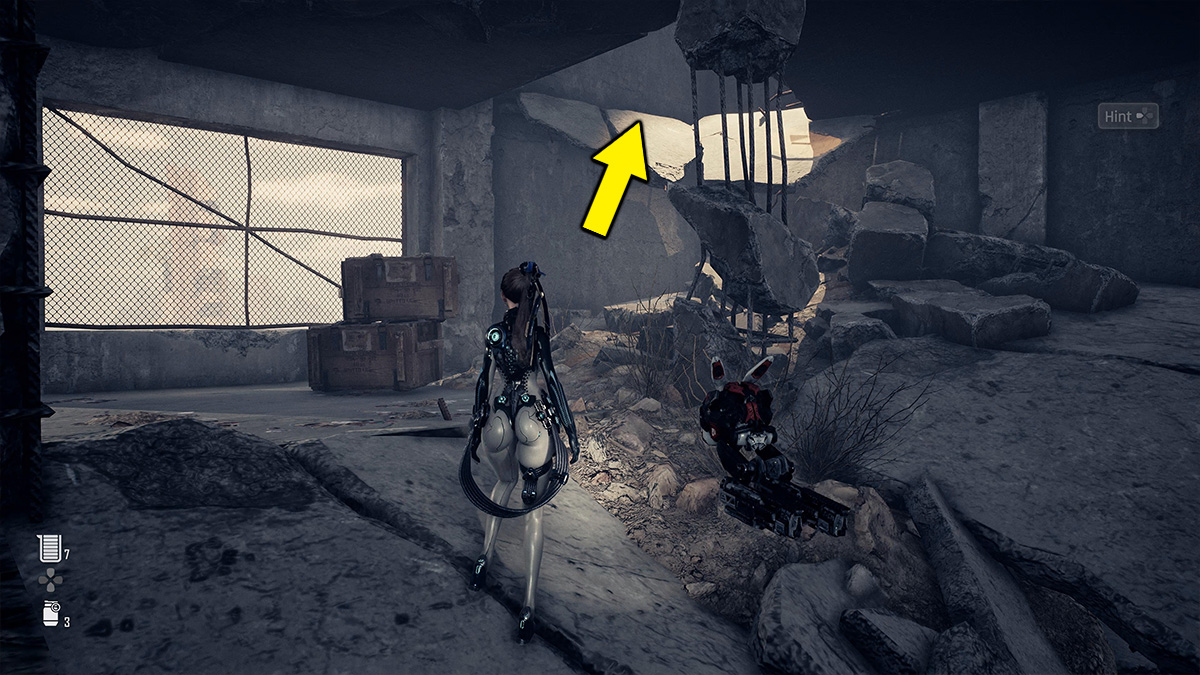
Once you are inside the abandoned building, you will notice the roof has collapsed in the northeast corner of the room. You are going to want to take EVE to this corner and climb up the hole to reach the level above.
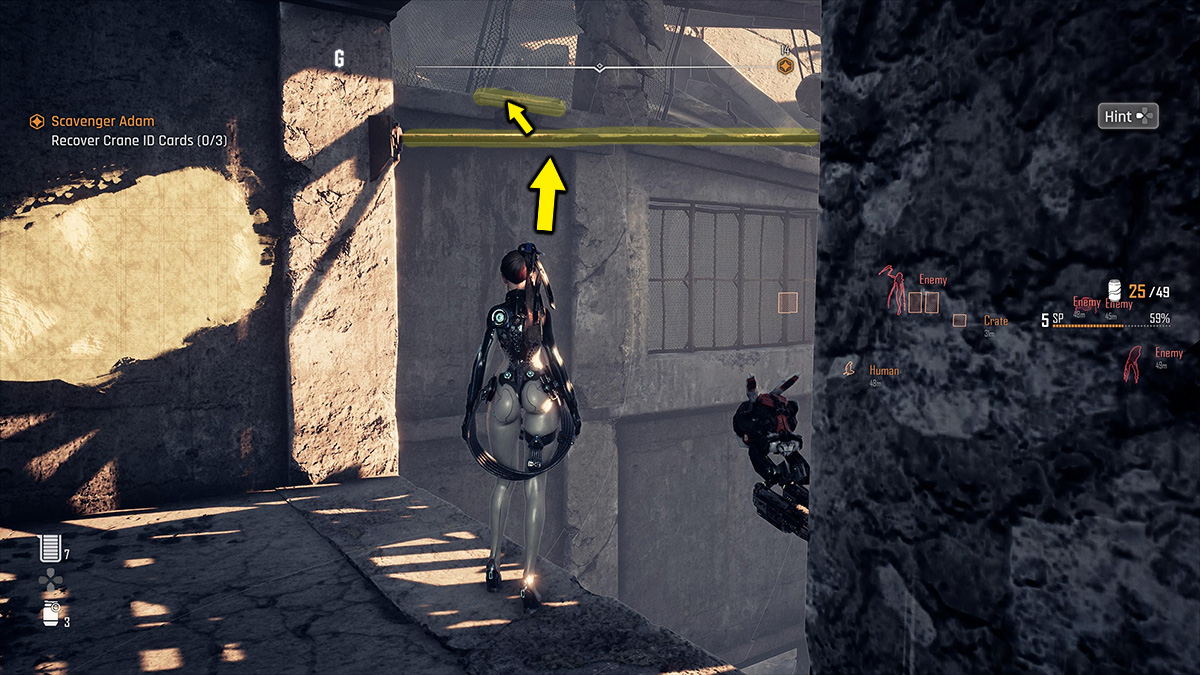
After climbing to the next level, you will need to fight off a Naytiba that is standing by the ledge of the building. Once you’ve disposed of the creature, return to the ledge to see a bar. Jump to the bar and have EVE swing to the next level of the building. You may need to use the game’s scan function, but you should see a little step connected to the side of the building that you can climb up.
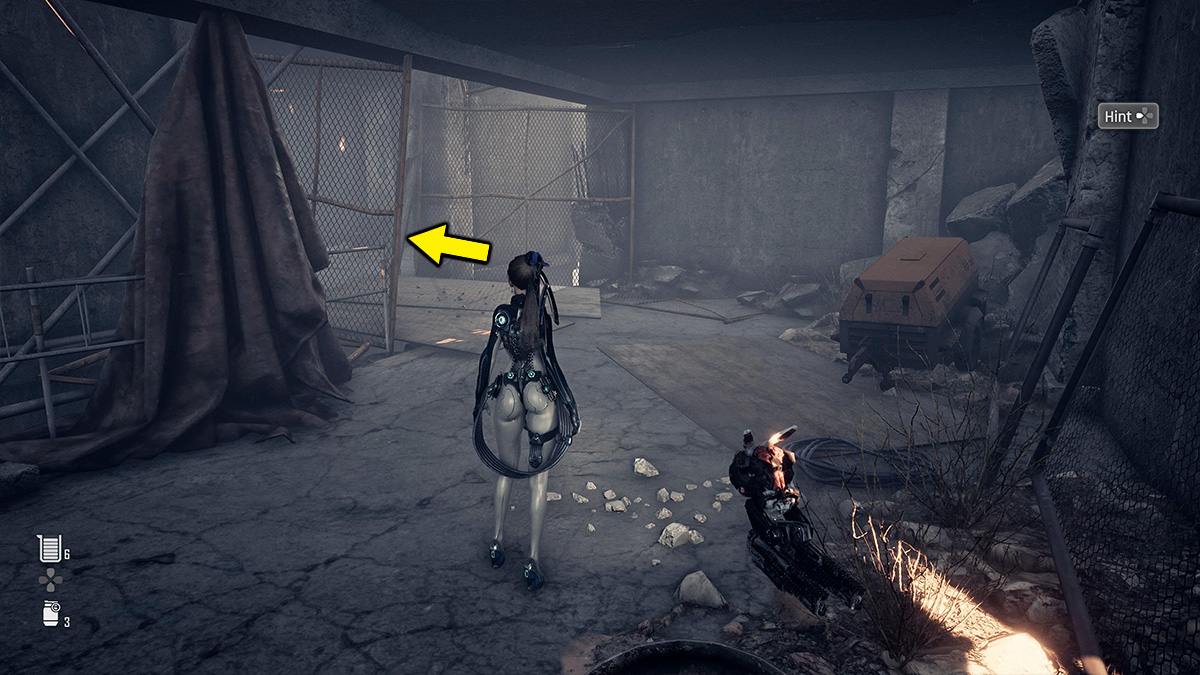
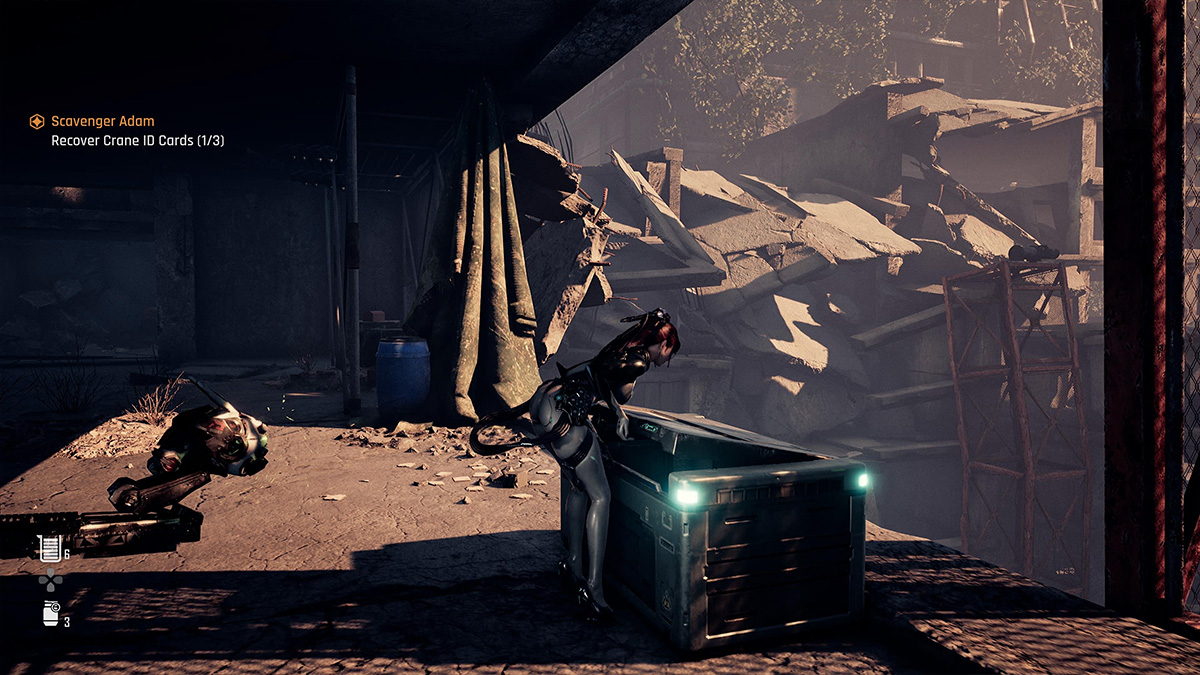
Now that you are on the final level of the building, take a left through the open gated fence. You will now be in a room with a giant chest. You don’t need a passcode to open it. Simply walk up to it and press “R2” to obtain the first missing Crane ID in Stellar Blade.
Crane ID Card #2
I recommend returning back to the campsite next to the Crane panel. Once here, you are going to turn around and face the direction opposite of the vending machine. You should see a small broken wooden bridge heading north of the campsite. You want to walk across it and then make a left.
I have provided an image below that shows the exact bridge I’m talking about:
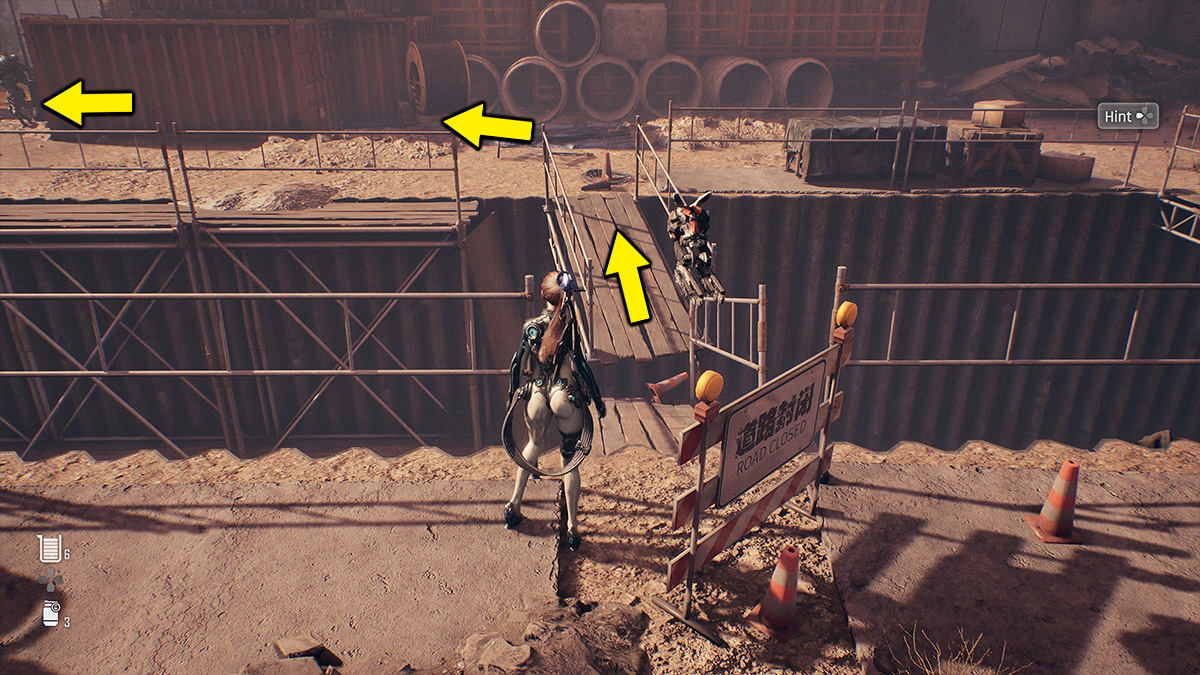
After you make a left over the wooden bridge, you will see a giant metal gate with a frozen Naytiba in front of it. Make a right and enter the gate. You will now find yourself in a giant empty room.
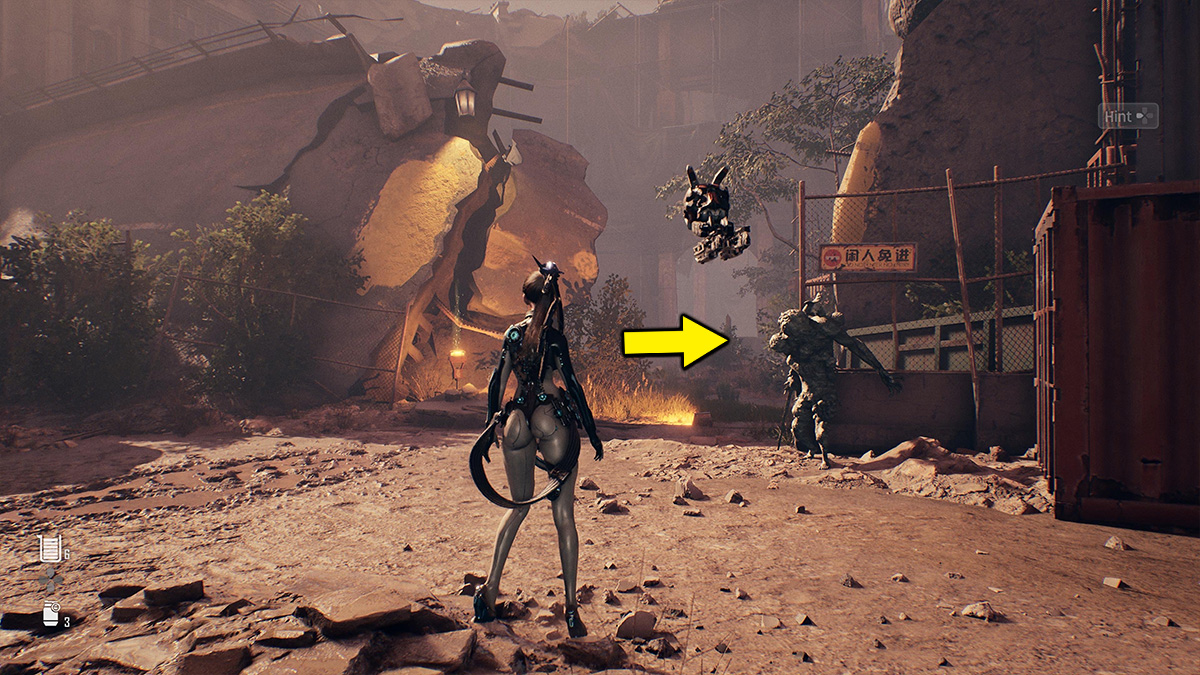
Keep pushing through the building and fighting off the groups of Natyiba. Eventually, you will find yourself in a dead end second room. Quickly dispatch of these enemies so that we can move on to the next area.
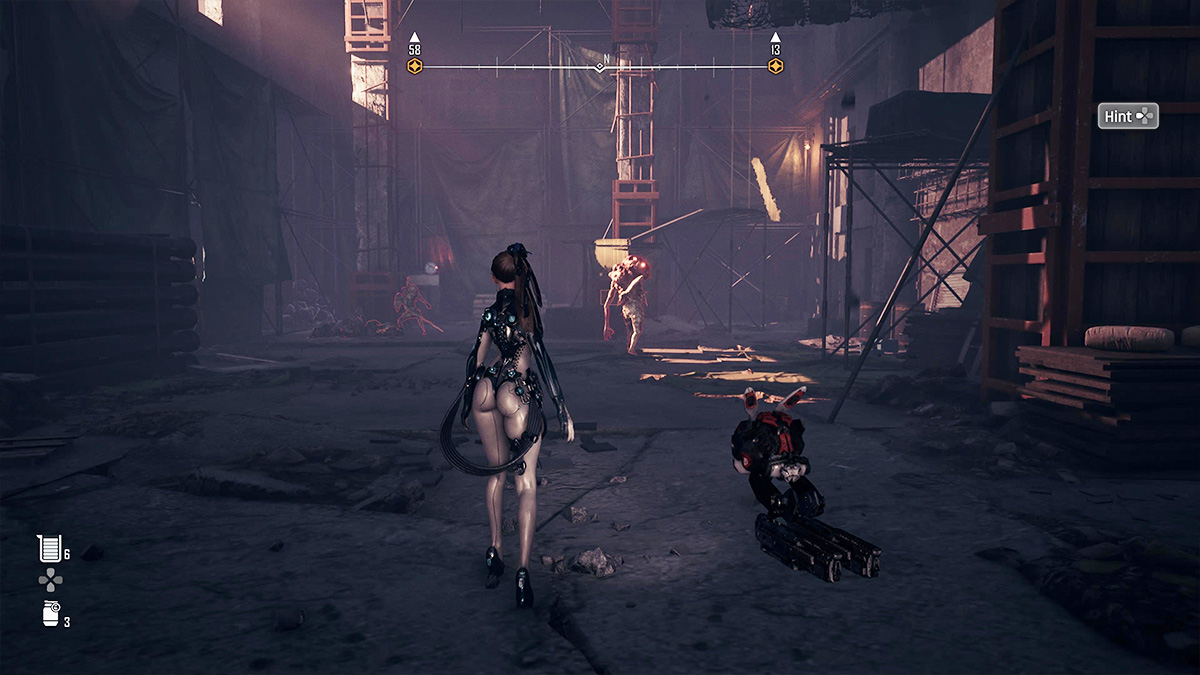
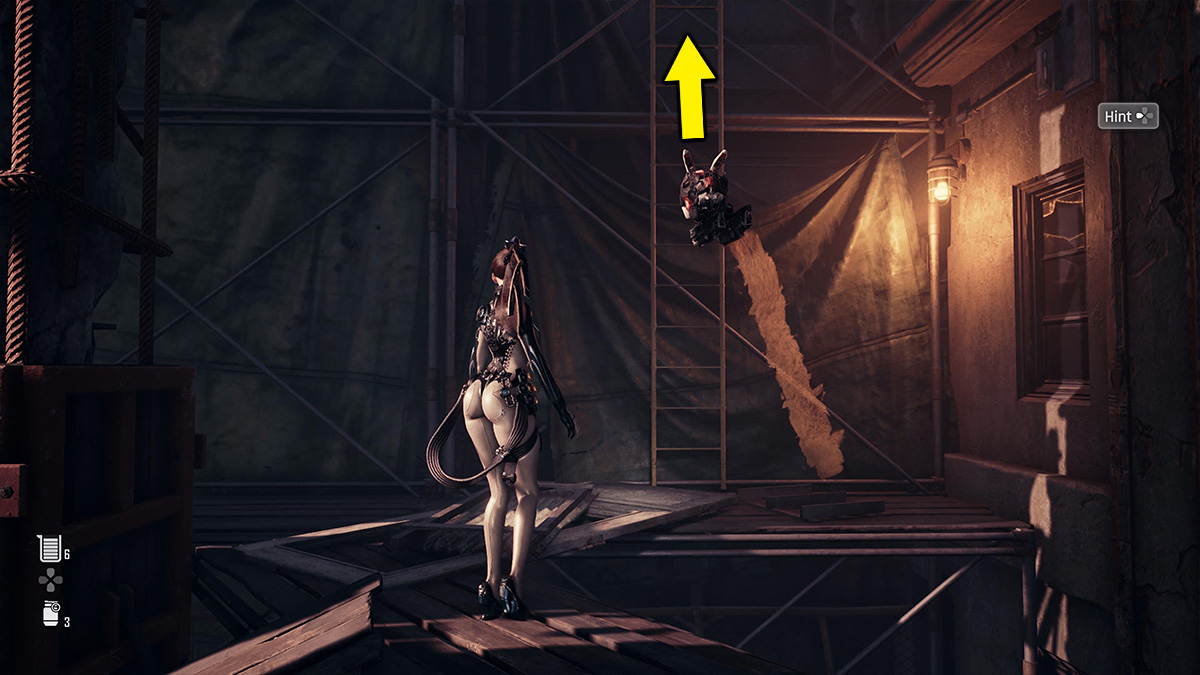
Towards the back of the room, you should see a green scaffold that is marked with yellow paint. Climb up the boxes, and then head right up the ramp. Finally, you should see a ladder on the wall which has a yellow mark next to it.

Climb up the ladder, which will take you to a room with a chest in it. Like before, you don’t need a passcode. Just walk up to the chest and open it to receive the second missing Crane ID in Stellar Blade.
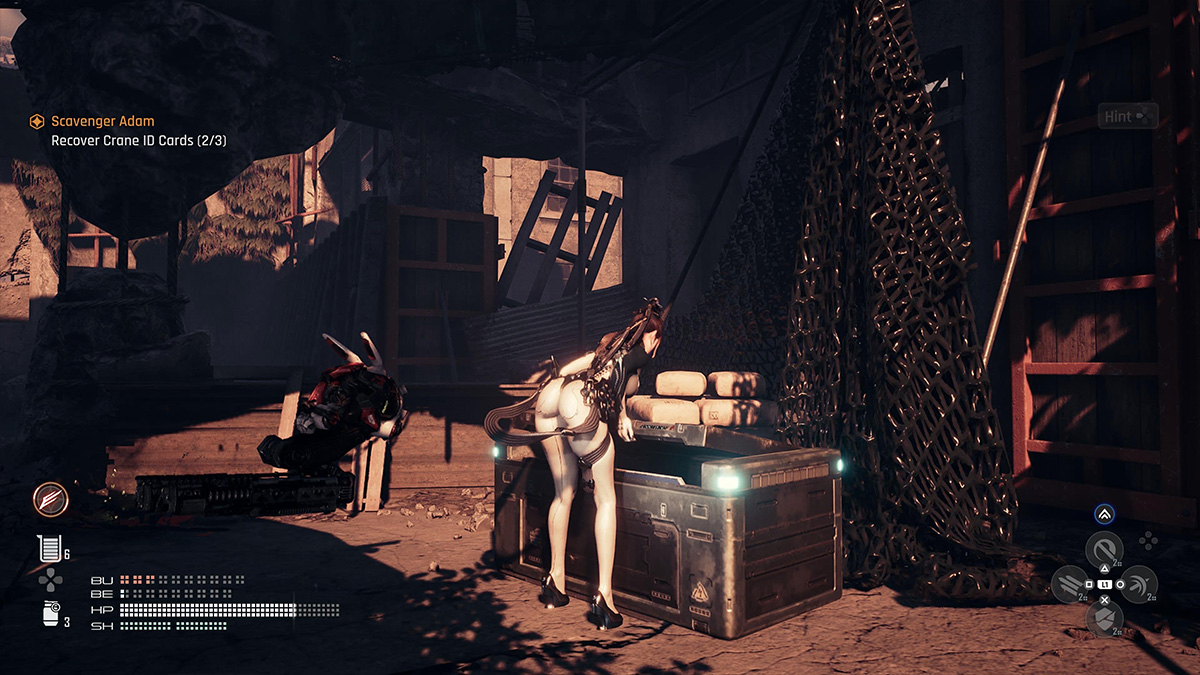
Crane ID Card #3
Exit the building you were just in and walk back to the gate entrance that you used to enter the area originally. The next Crane ID can be found in a building north of your current location. You can spot the building as it has a giant orange elevator next to it.
Below is an image of the location you need to head to:
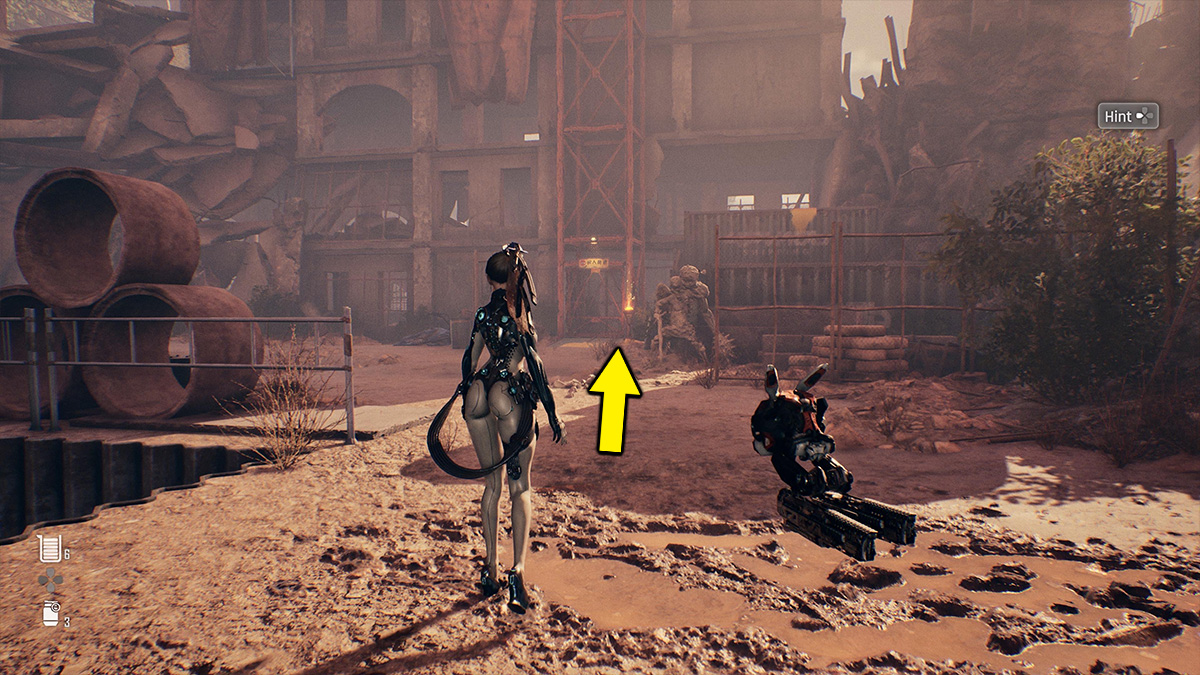
However, the elevator currently isn’t working due to a lack of power. So instead, you want to climb up he giant metal crates to the right of it. You will know you are in the right place, as they are marked with yellow paint. Climb up both crates and enter the building.
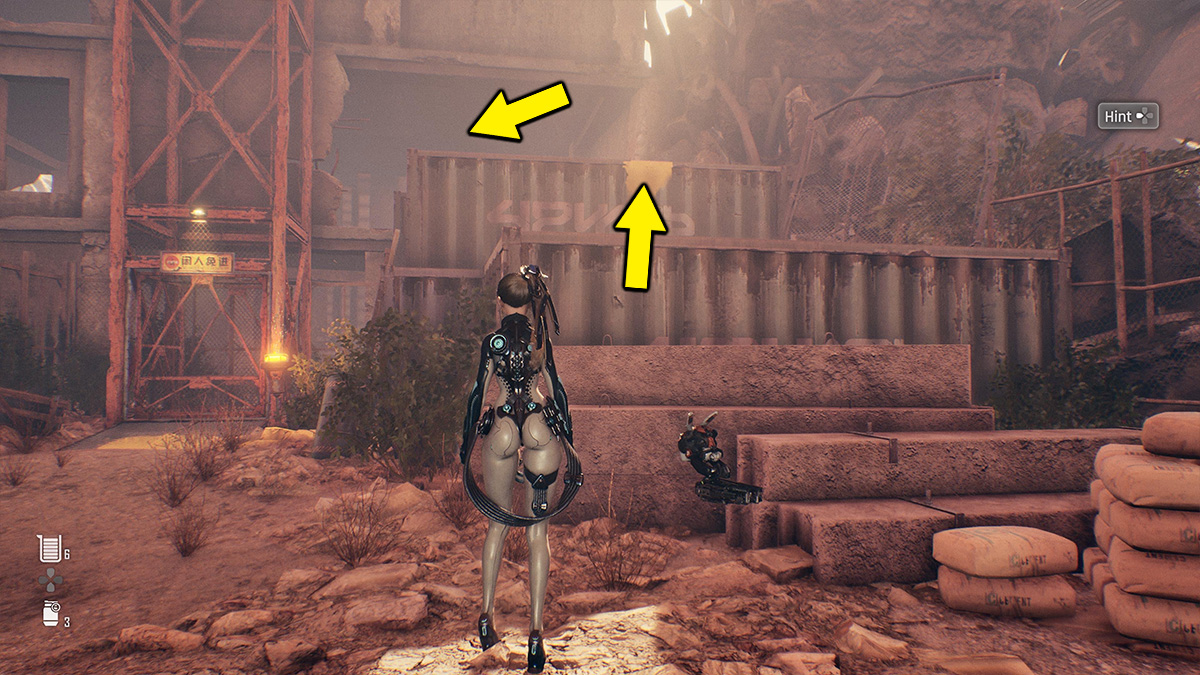
Once you are inside the building, you will notice a giant hole in the floor. What you want to do is drop down to the level below. However, you will need to take out a few Naytiba that are walking around this floor.
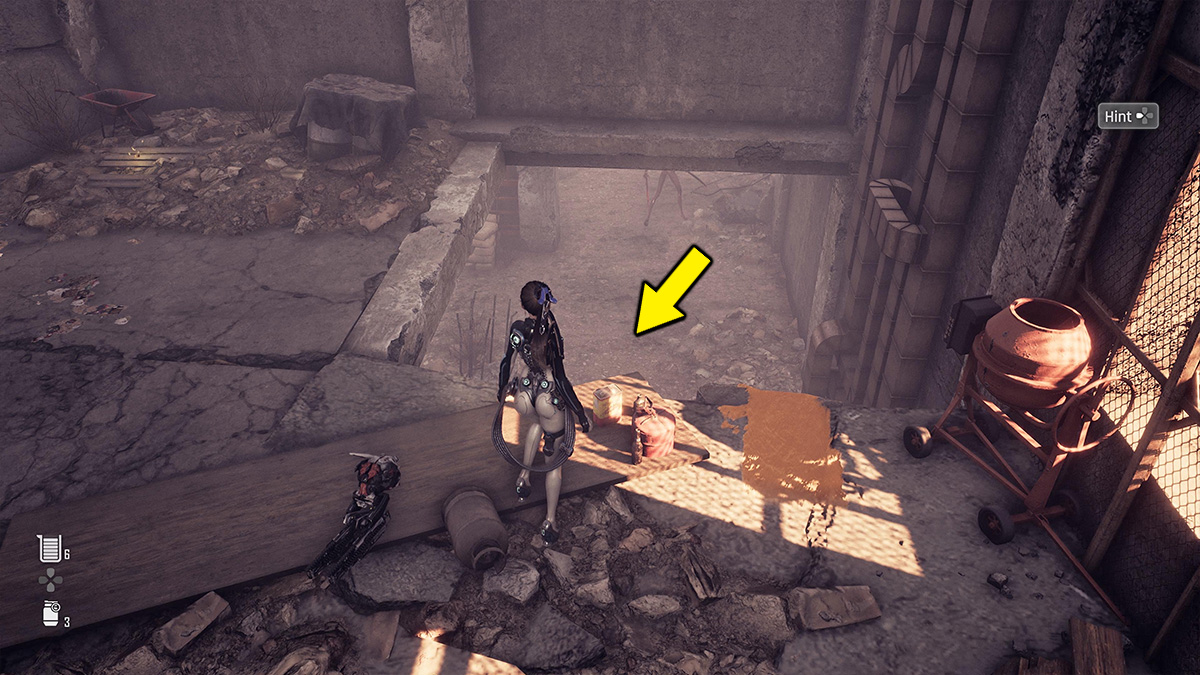
After you have taken out the creatures, you will spot a giant Generator in the corner of the room. Walk up to it and press “R2” to start it up. The orange elevator will now be active and can be used. Climb up the hole you dropped from, and exit the building by climbing down the metal crates.
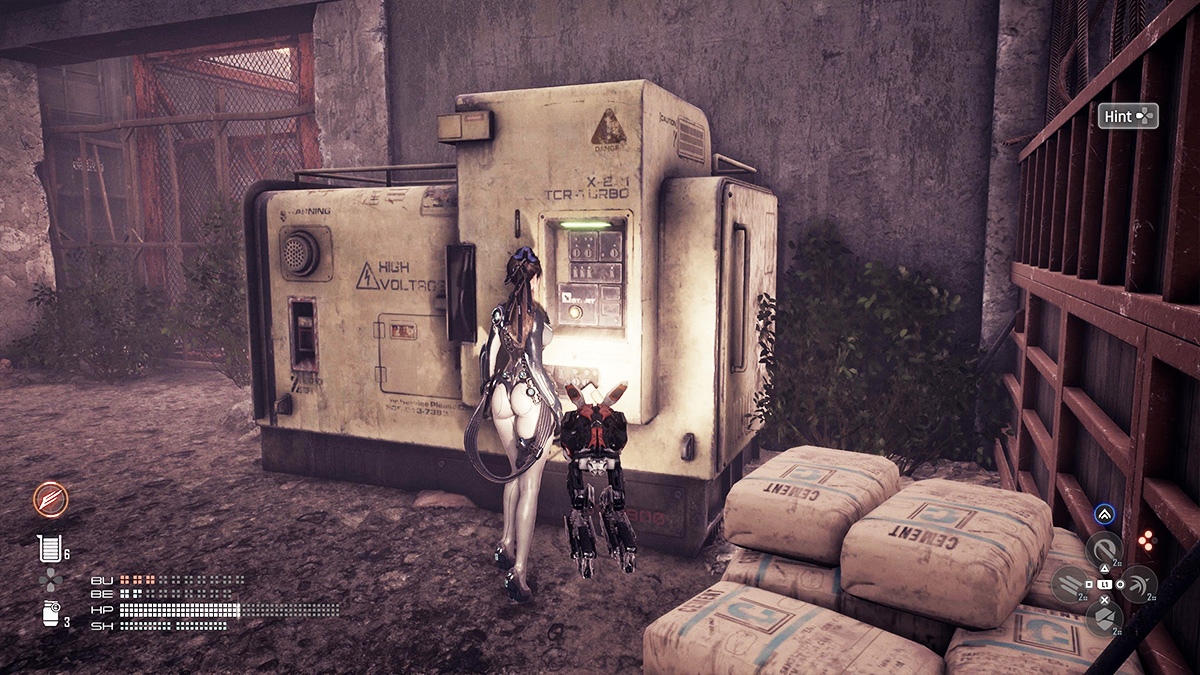
It’s finally time to take the elevator up to the top floor. Open up the orange-gated door around it, and then step inside. Press “R2” to press the “up” button, and wait for the elevator to take EVE to the top.
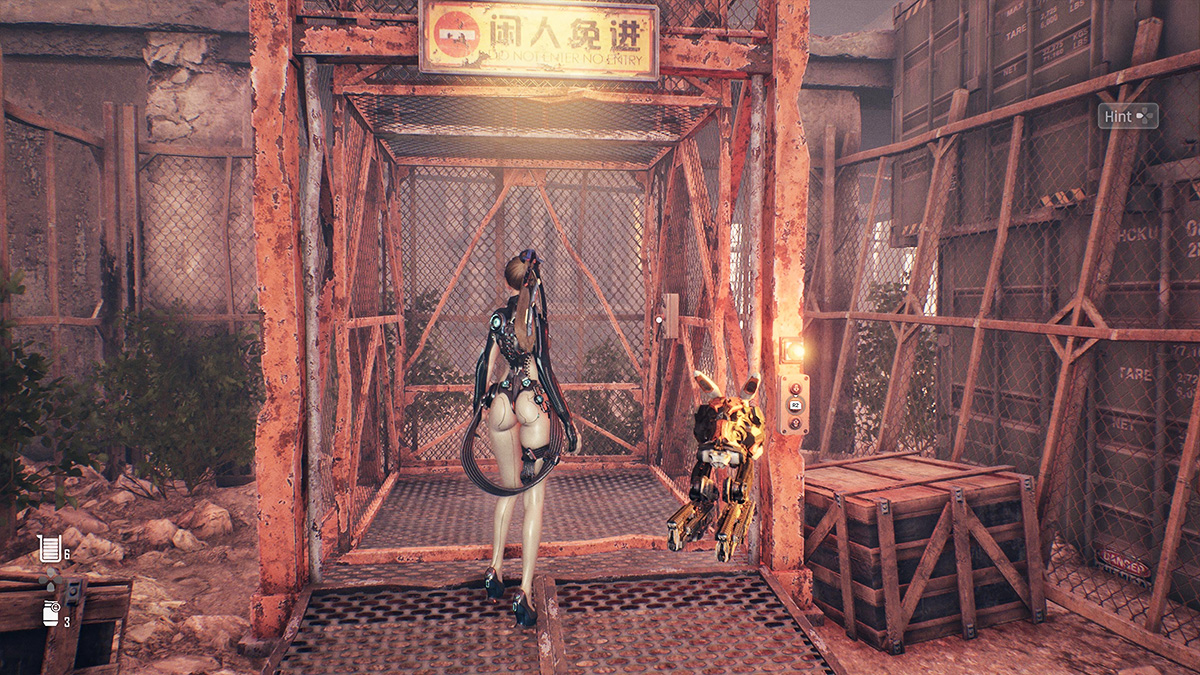
A brief cutscene will now play with Adam talking to EVE about humanity’s past. After that, have EVE interact with the chest next to the elevator to obtain the third missing Crane ID in Stellar Blade.
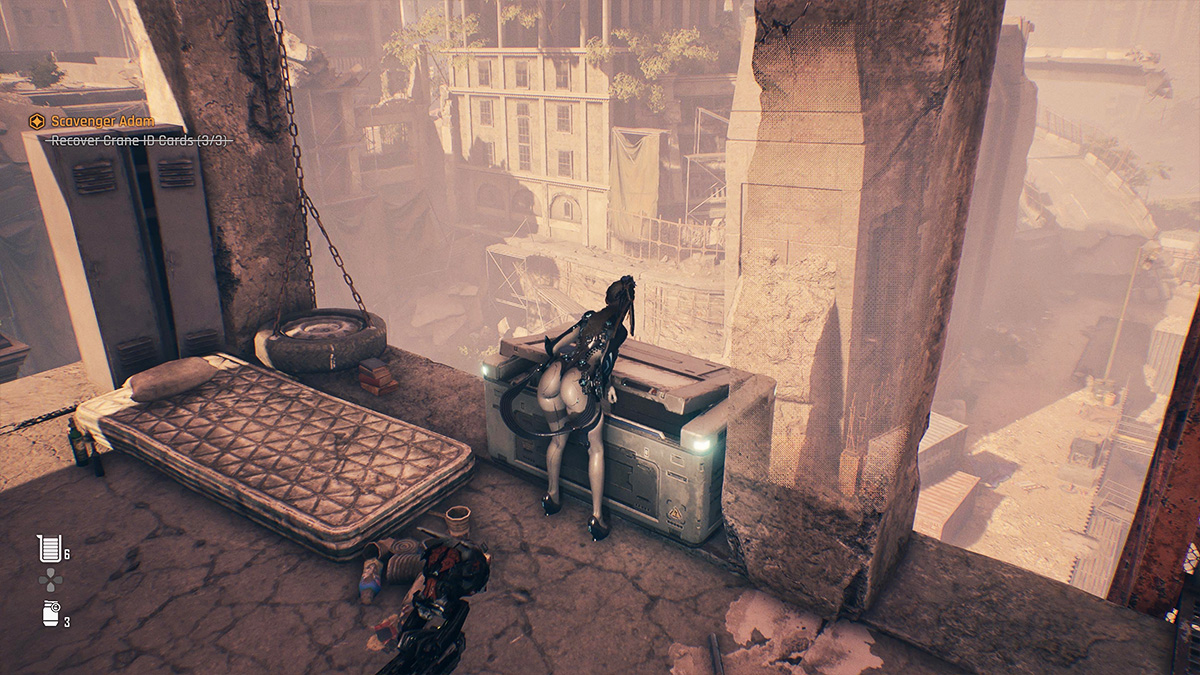
Now that you have the three Crane ID Cards, head back to the control panel near the campsite. You will now be able to control the Crane. Lower the construction beam to create a bridge for EVE to cross to exit the Construction Zone in Eidos 7. For more tips on the Shift Up RPG, check out our How to Get Vitcoins in Stellar Blade guide.
Stellar Blade is now available exclusively on PlayStation 5.


Published: Apr 26, 2024 03:50 am